How to Post-Process
a 3D Printed Model
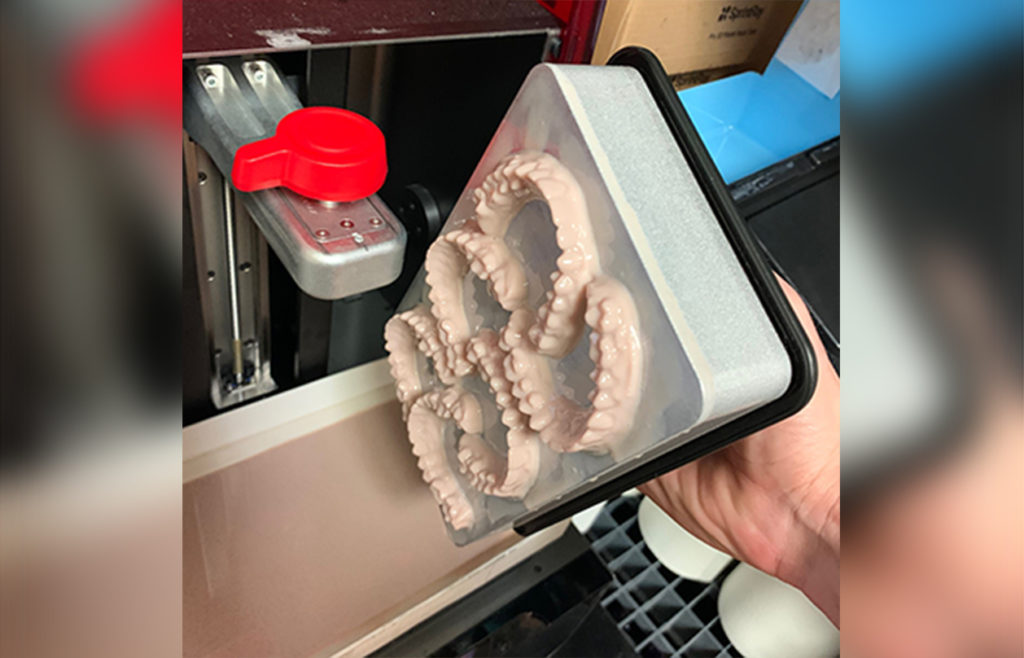
Step 1: Remove the build platform from the 3D printer
Once the print job is complete, remove the build platform from the 3D printer. It is important to remove any excess resin from the models and build platform to save additional resin.
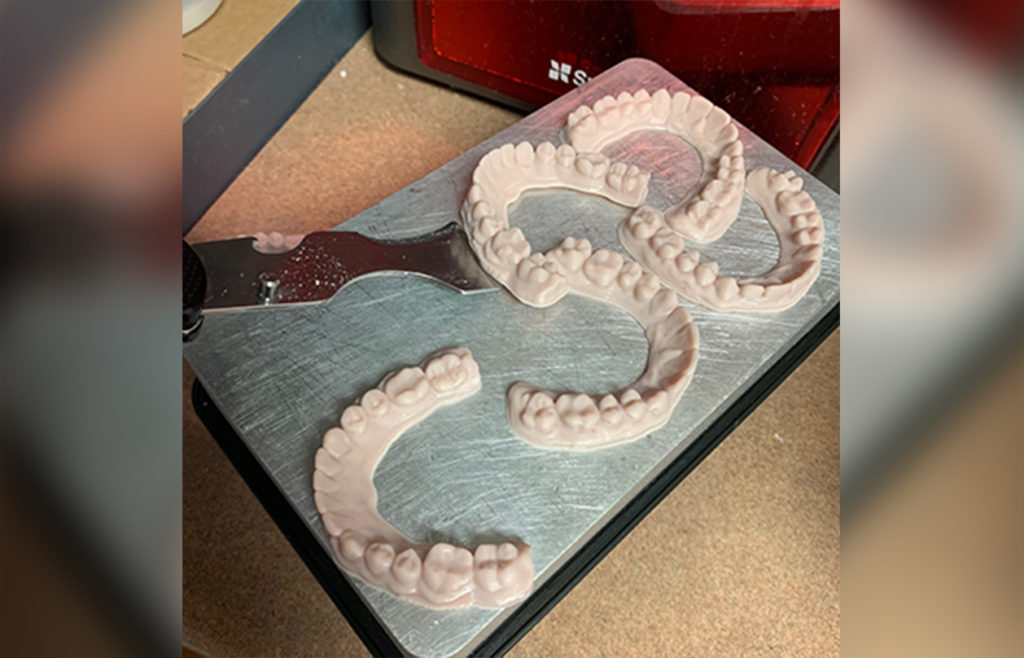
Step 2: Remove the models from the build platform
Using a putty knife, gently remove the model from the build platform. Some offices prefer to use a hammer with the putty knife for removal.
Note that there are some efficient methods of cleaning the models (Step 3 and 4) with the models still on the build platform. If one of those methods is used, the models would not be removed until after they are dried (Step 5).
Step 3: Place the model in Isopropyl Alcohol (IPA)
Place the model in a 99% IPA bath to remove any uncured resin from the model.
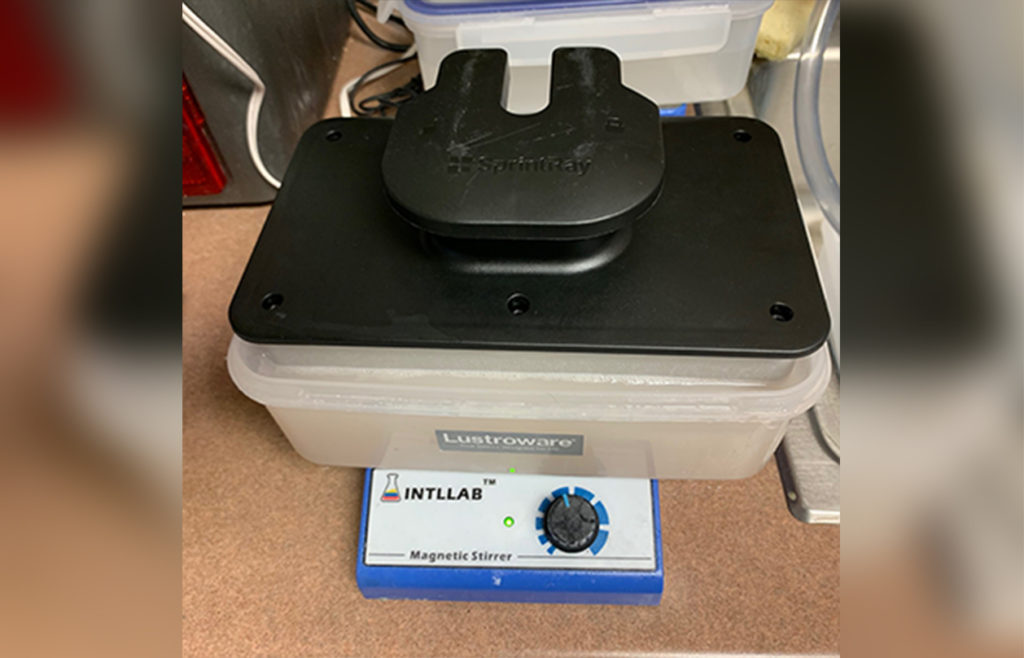
Step 4: Agitate the model in IPA
Commercially available wash and cure units are offered to agitate the 3D printed model to remove uncured resin. Custom wash stations can also be made with magnetic stir plates and tupperware containers. Please follow the manufacturer’s recommendations for proper washing and cure times.
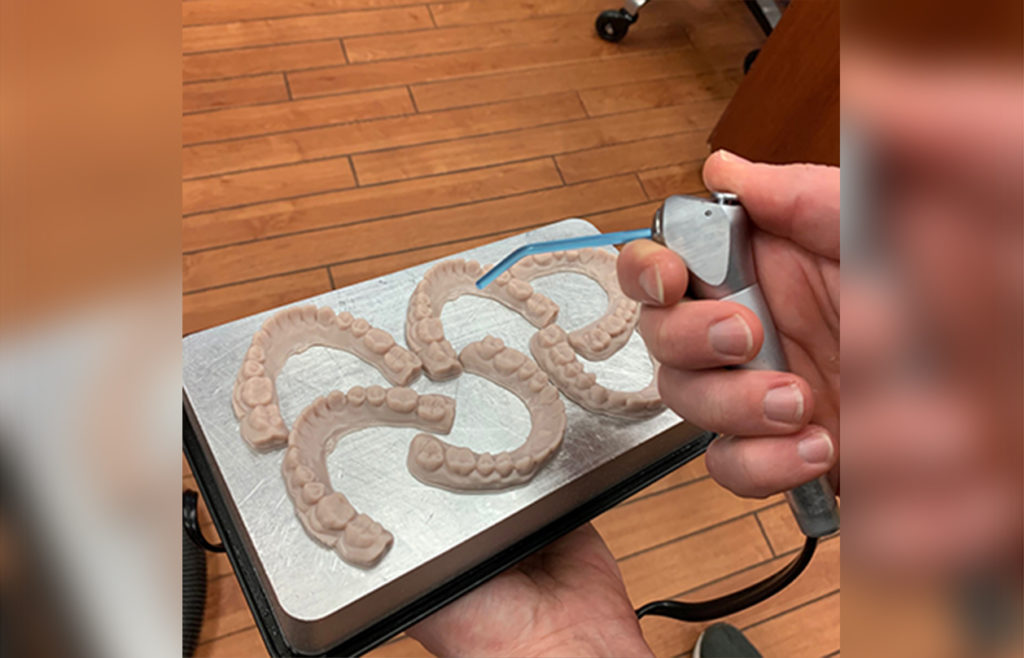
Step 5: Dry the model
Using an air compressor, remove any remaining IPA from the model.
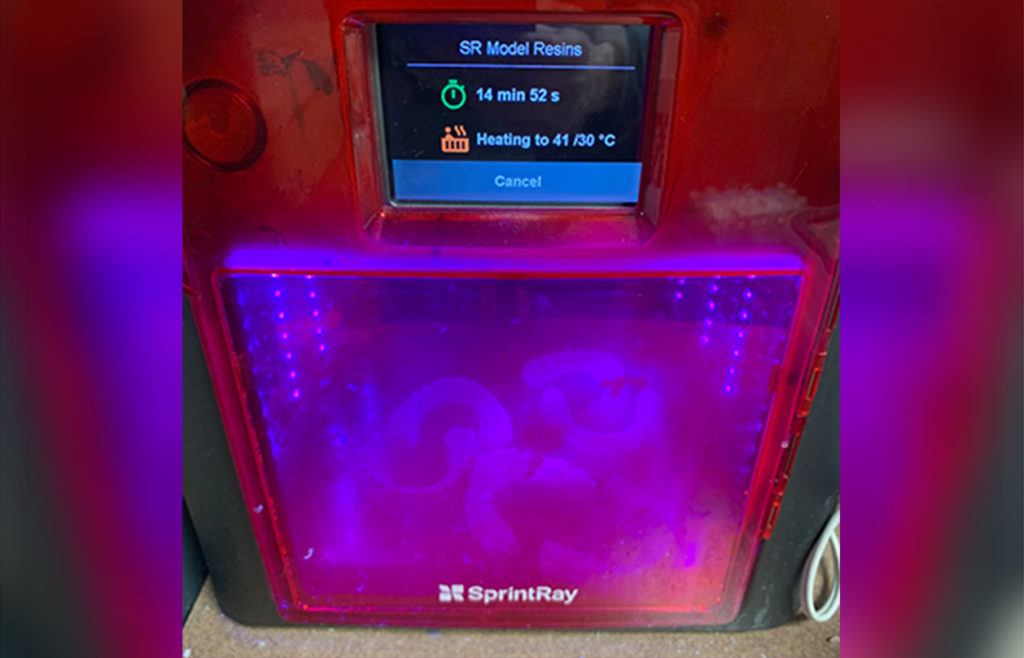
Step 6: Cure the model
Cure the model using the recommended settings provided from the 3D printer resin company.
Step 7: The model is ready
Once the model is cured, the model is ready for use and fabrication of appliances.

Keep the AAO TechSelect How to Post-Process a 3D Printed Model Guide with you.
Learn more about the entire process.