How To Bond Your Patient Using Digital Indirect Bonding
The steps for bonding the patient using digital indirect bonding is generally the same for all systems, however there is some variation on order of placement and removal of trays that varies by system. Before bonding the patient, review the instructions from the specific system you are using.
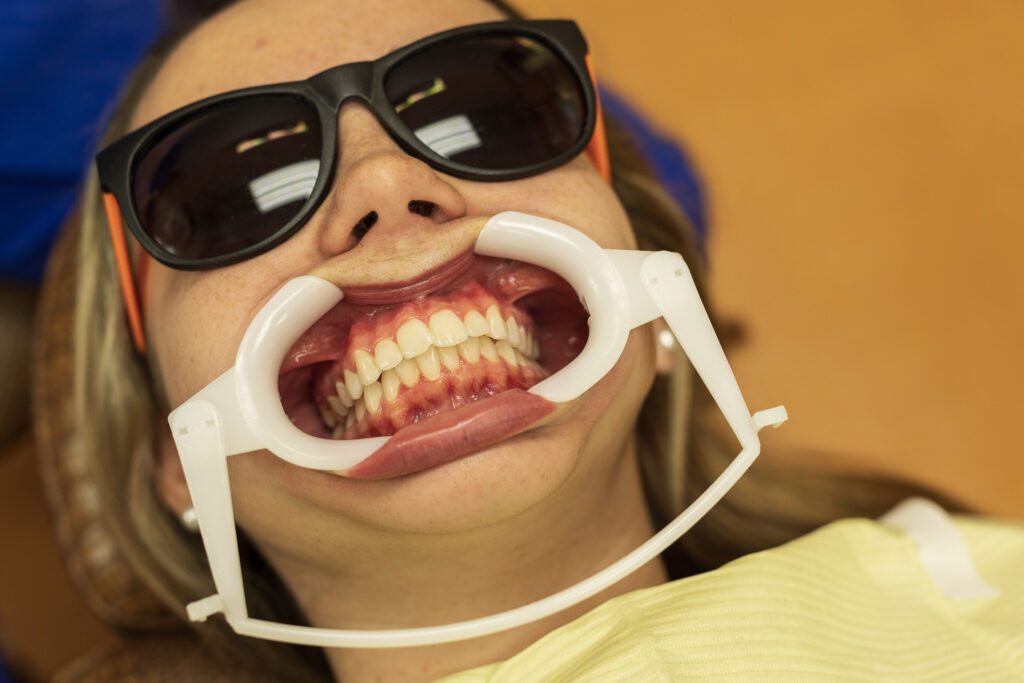
Step 1: Insert isolation.
Step 2: Condition teeth.
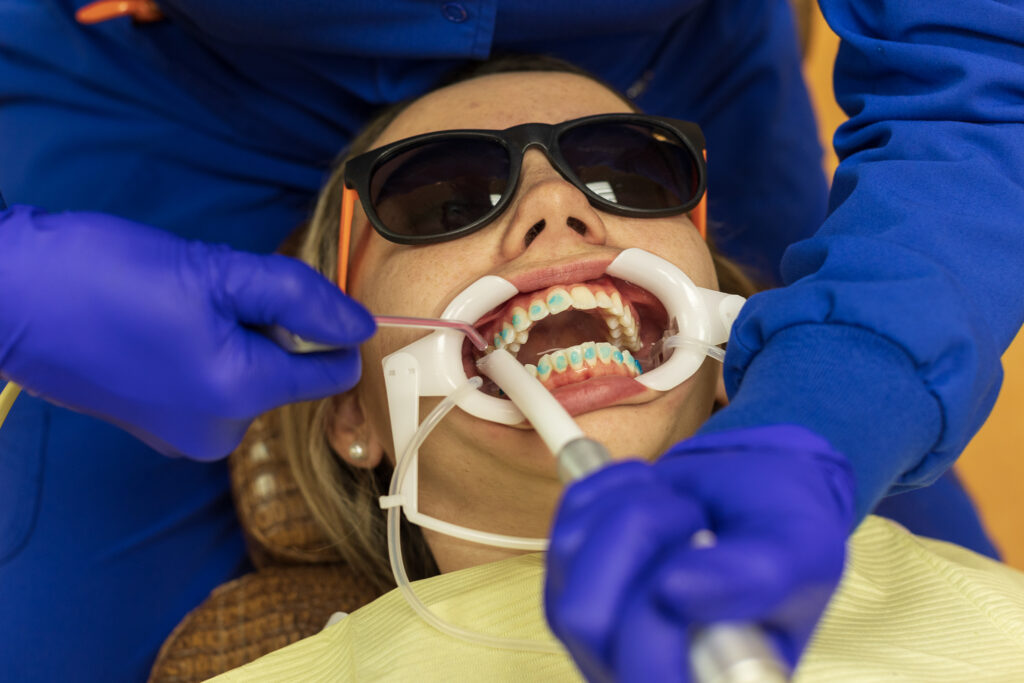
Condition the surface of each tooth using a thin layer of gel etch so you can control the location. Thoroughly rinse to remove the etch using high volume evacuation. Once removed, dry each tooth using compressed air.
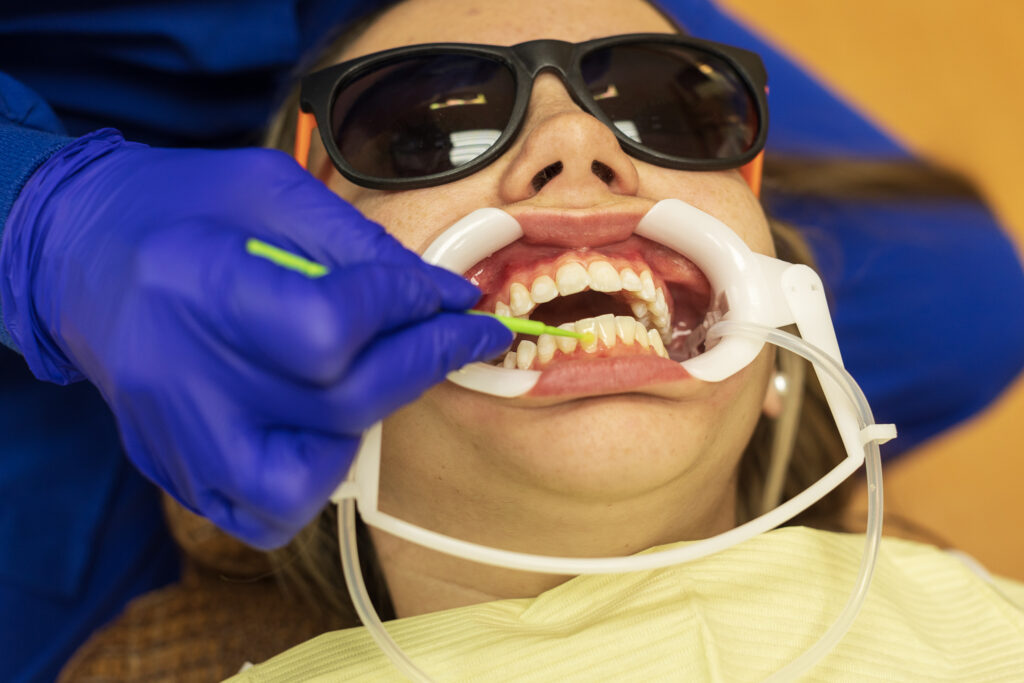
Step 3: Prime surface.
Prime the surface using self-etching primer or the conditioner suggested by the manufacturers of your system.
The order and removal of the trays will depend on the system you are using.
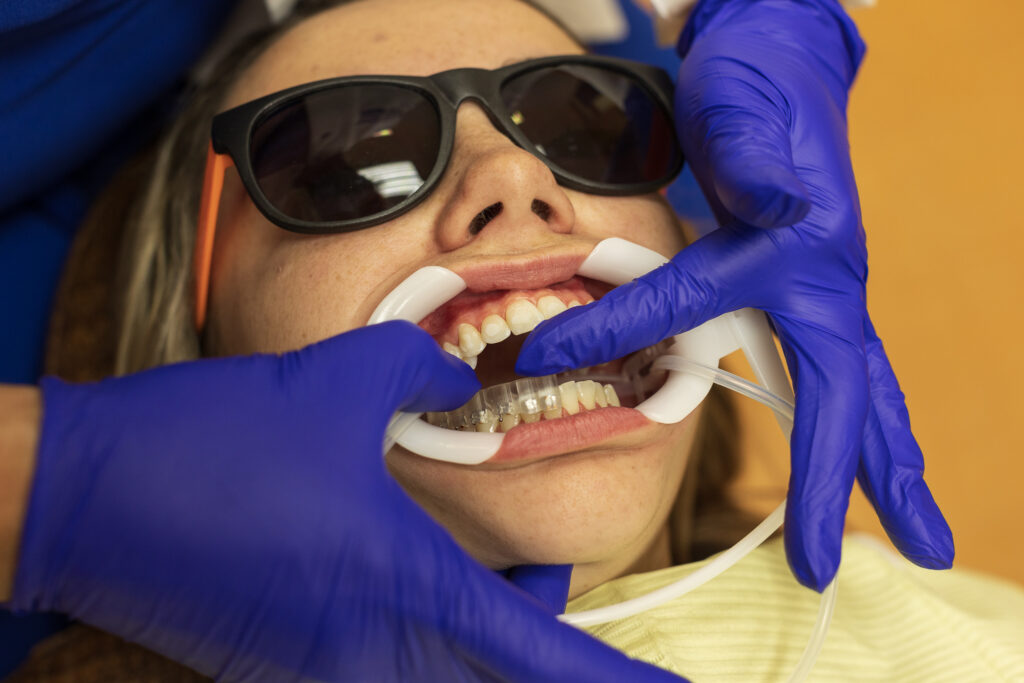
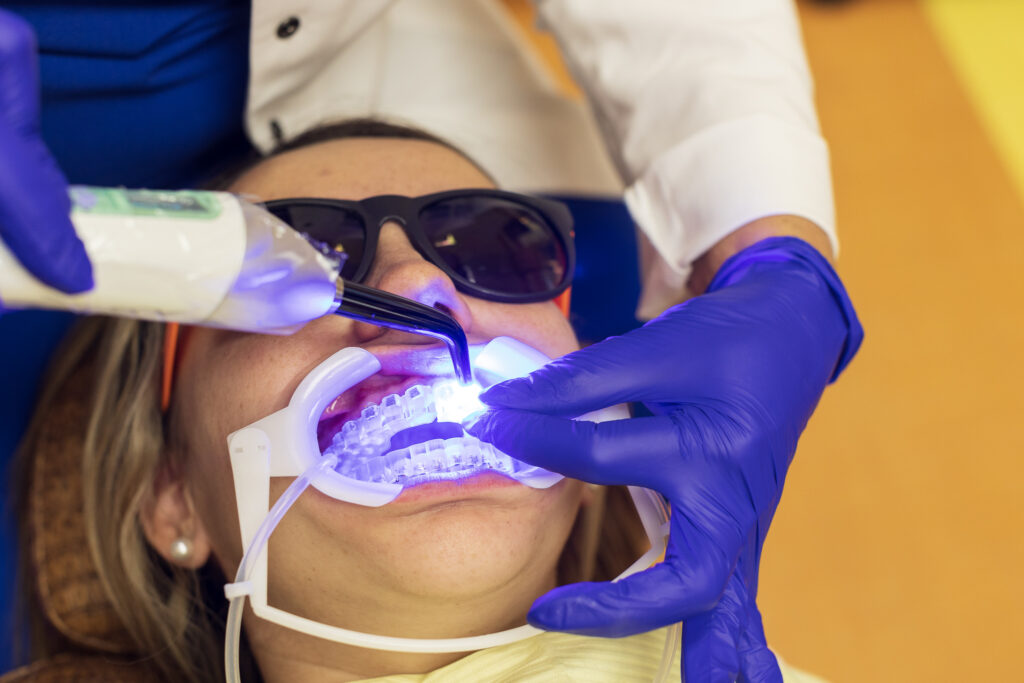
Step 4: Placement.
Place the DIB tray making sure the brackets and tray are completely seated in the accurate position.
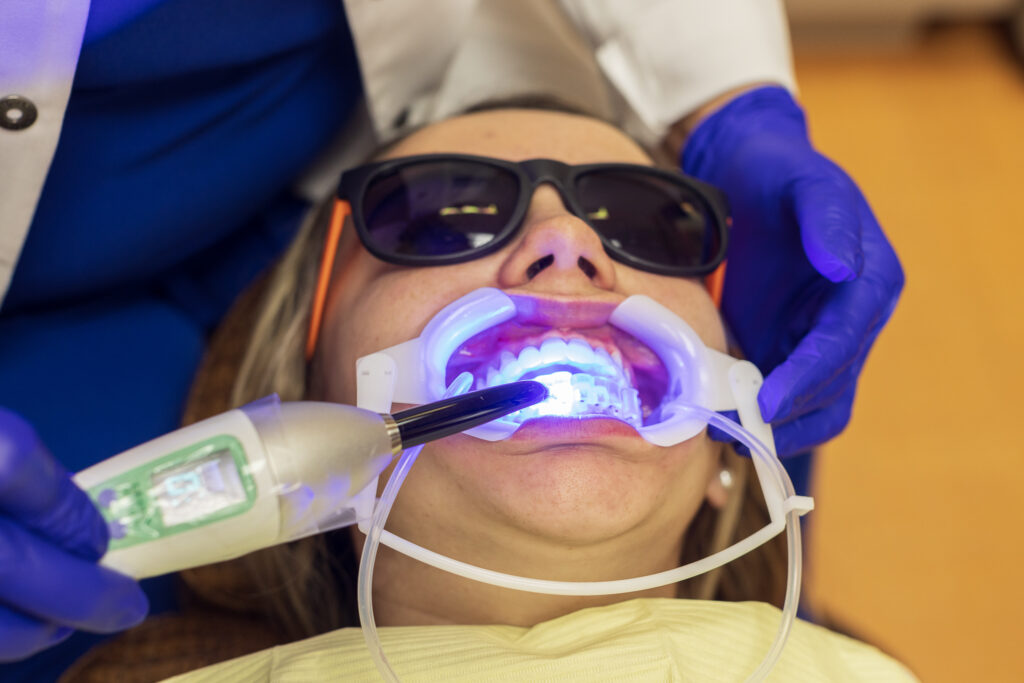
Cure each bracket using a curing process as follows:
a. Initial cure: For 4 seconds on each bracket with slight buccal pressure
b. Second cure: From mesial to distal for 4 seconds
Step 5: Repeat process.
Repeat the entire bonding process for the remaining arch.
Step 6: Remove isolation.
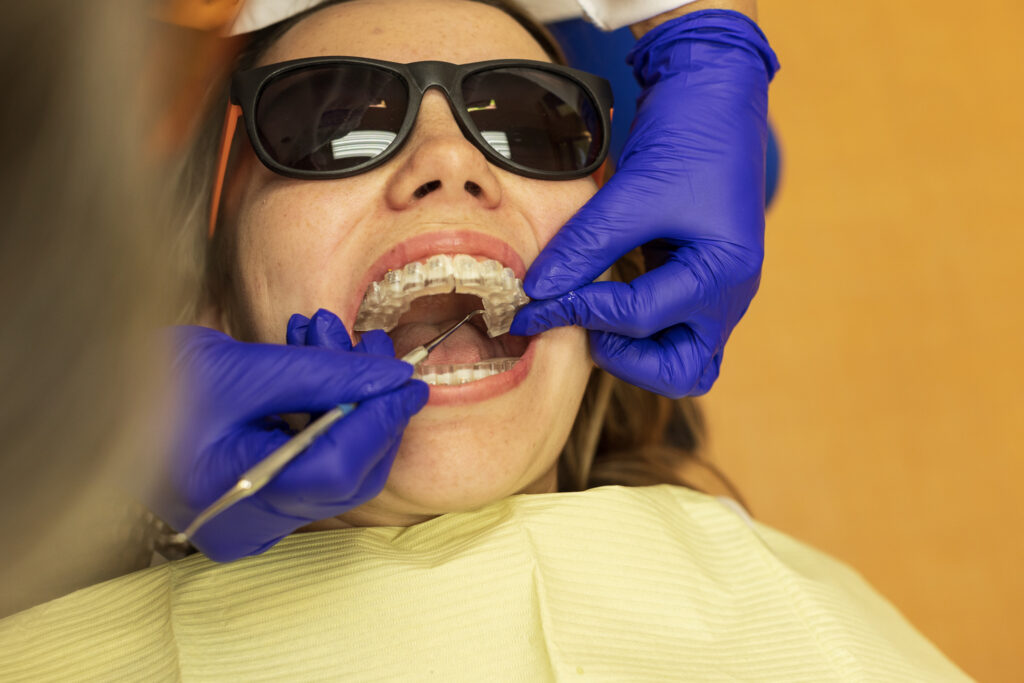
Step 7: Remove trays and repeat.
Remove trays in order according to system rolling from lingual to buccal. Repeat for all trays.
Step 8: Final cure.
Perform a final quick cure from incisal edge or mesial and distal.

