How to Do DIB
Digital Set-Up
DIB Digital Set-Up is basically the same whether you are using your standard bracket or a custom bracket system.
Step 1
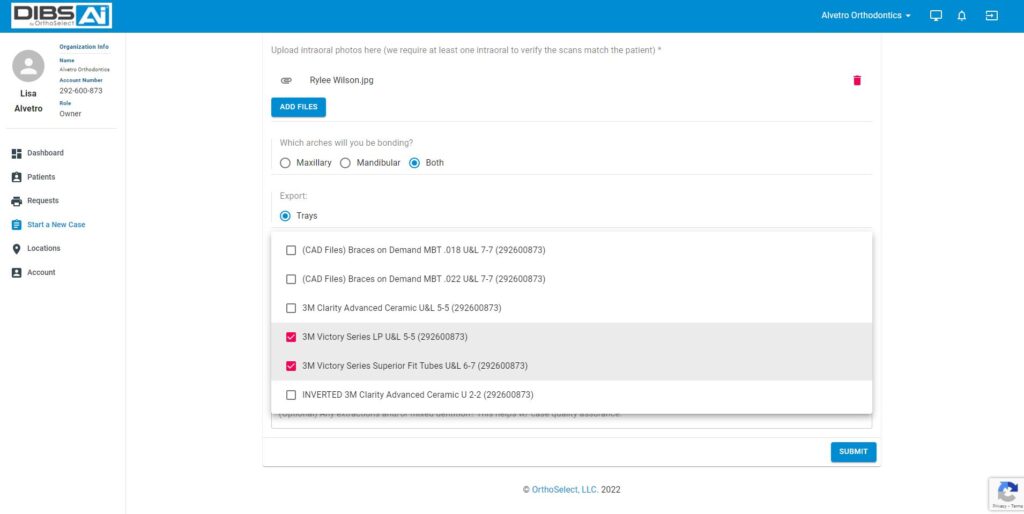
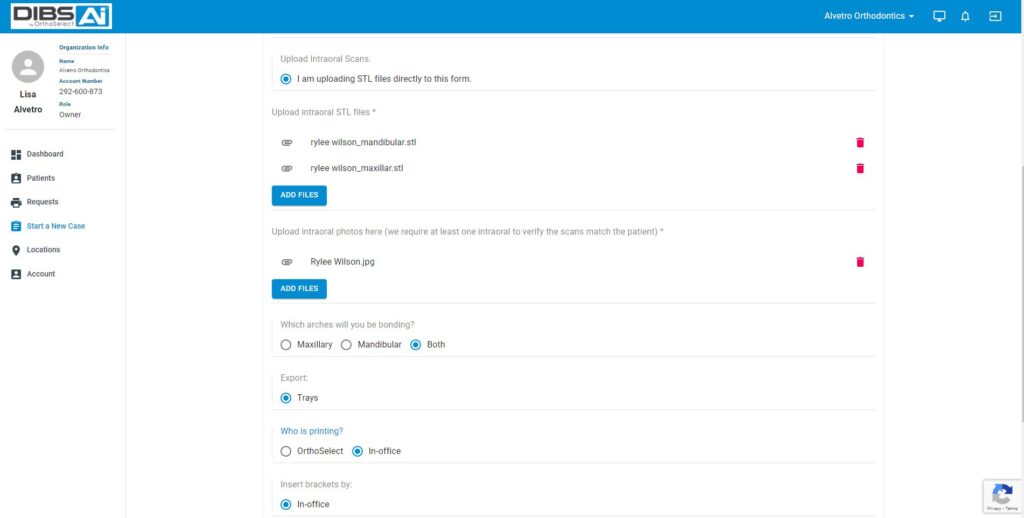
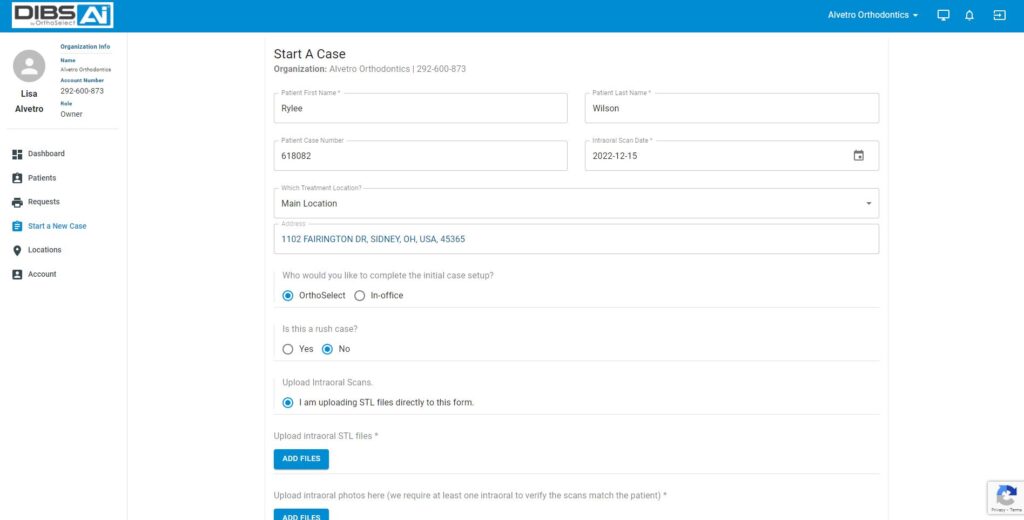
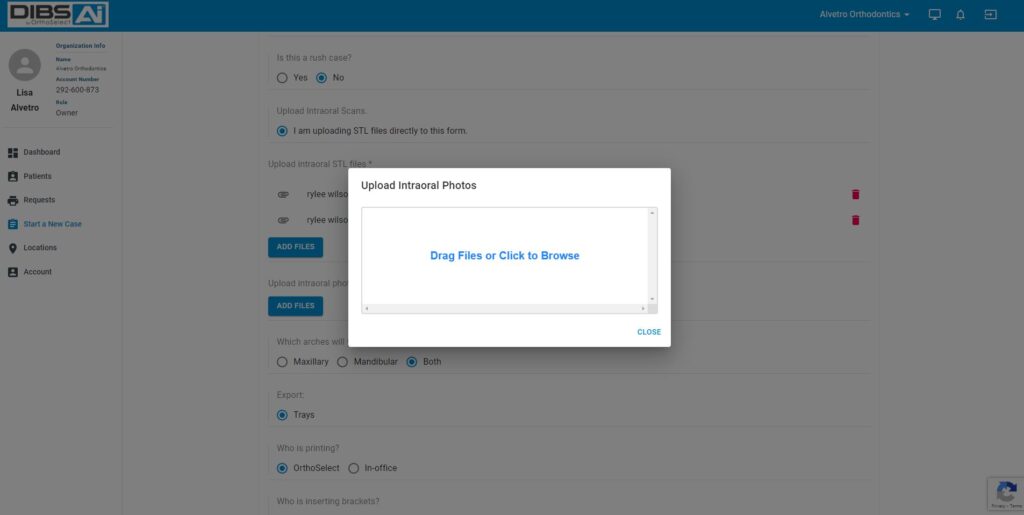
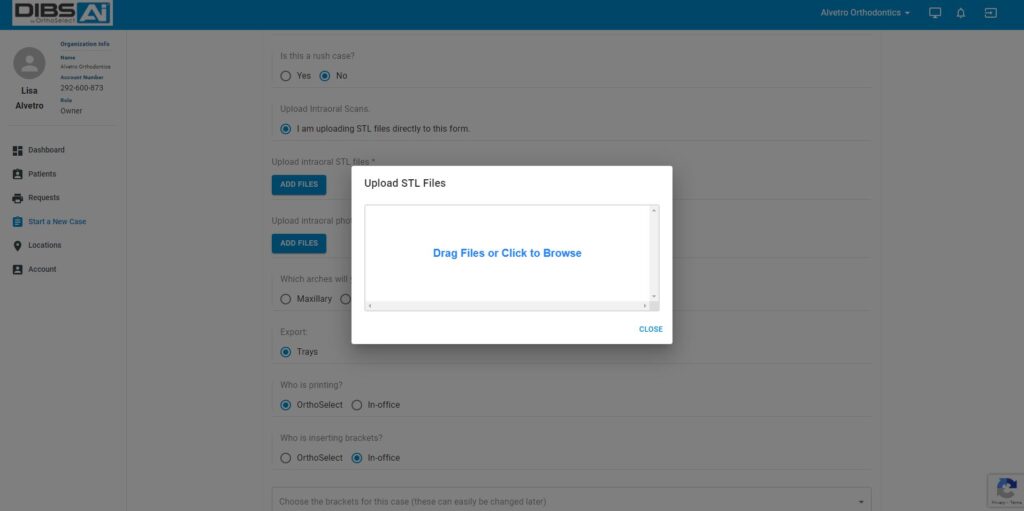
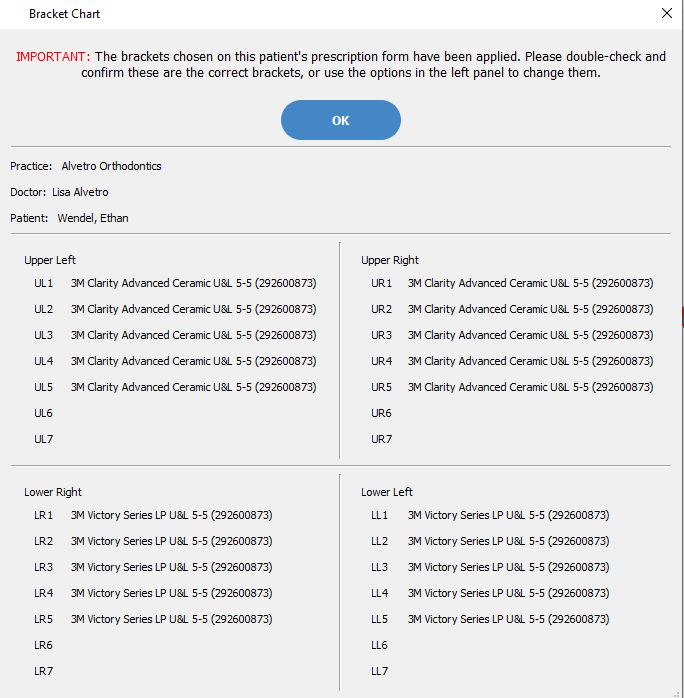
Create a new patient in the manufacturer’s portal. This includes uploading maxillary, mandibular, and bite STL files. Most also require facial and intra oral photos as well as a panoramic film. You will complete a prescription form that describes treatment objectives and bracket placement preferences.
Step 2:
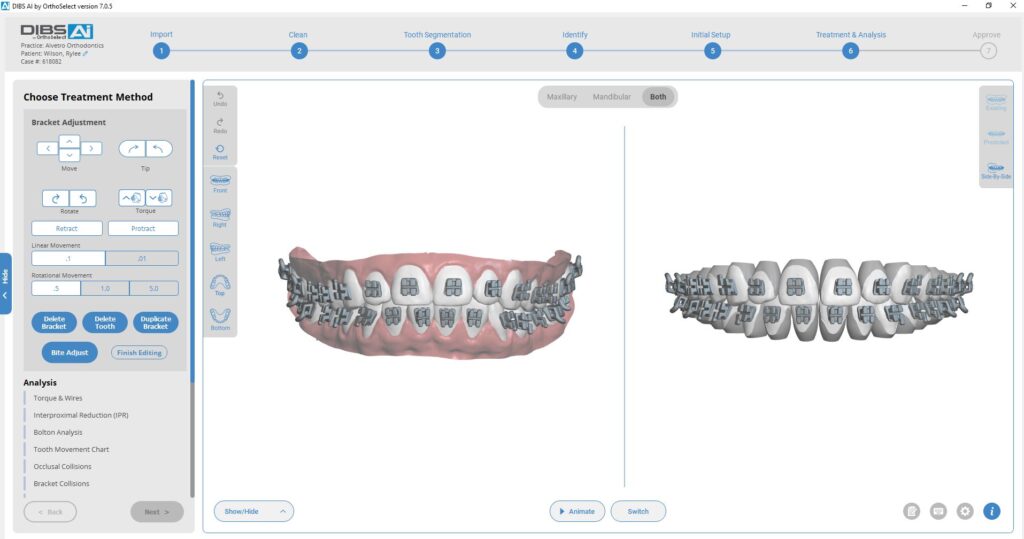
The company will perform the initial digital setup and will notify when it is ready for you to review. If adjustments to the setup are needed, use the functions of the specific company’s software to do so. In some cases, you can make the adjustments yourself or you can request the technician to do it for you. After you approve the case, production of an indirect bonding tray file will be created.
Step 3
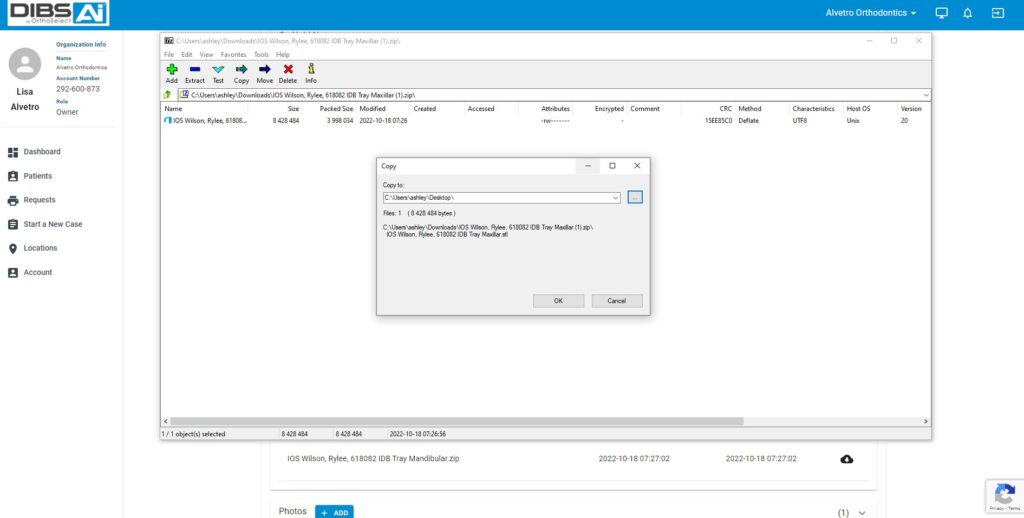
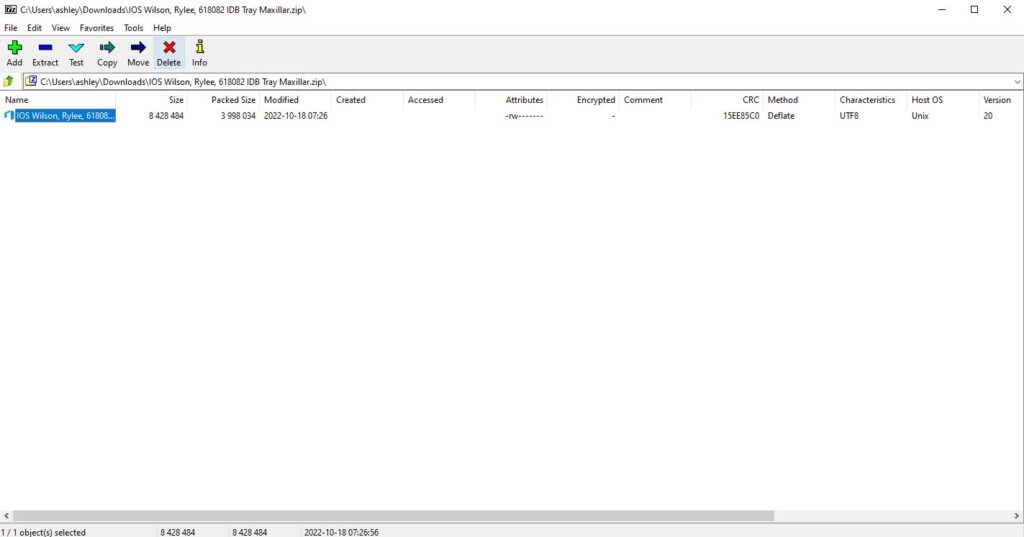
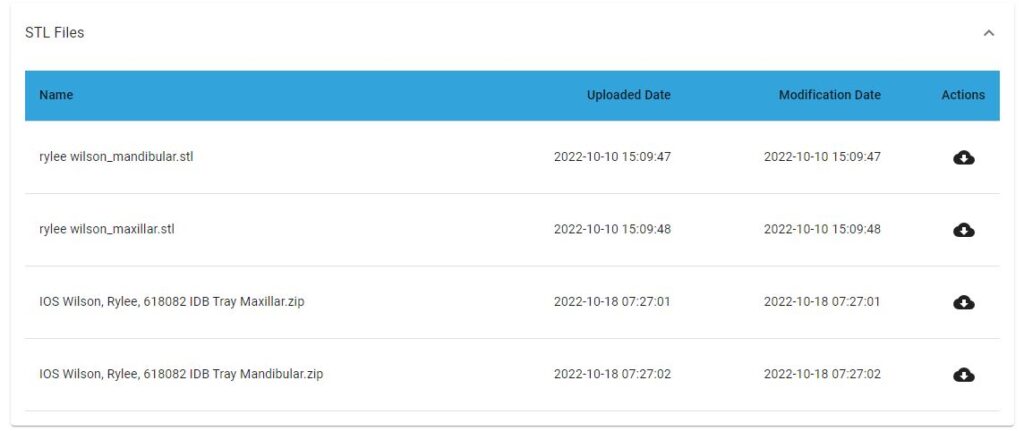
If you are printing your own trays, you will be able to download the STL file and save to your print file for the production on the printer of your choice. Keep in mind, when doing in-house printing the use of a bio compatible indirect bonding resin is required.