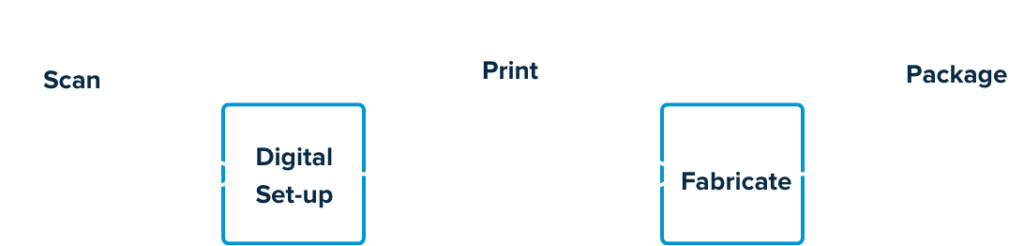
How to Perform
Digital Set-Ups
Step 1: Prepare the digital model
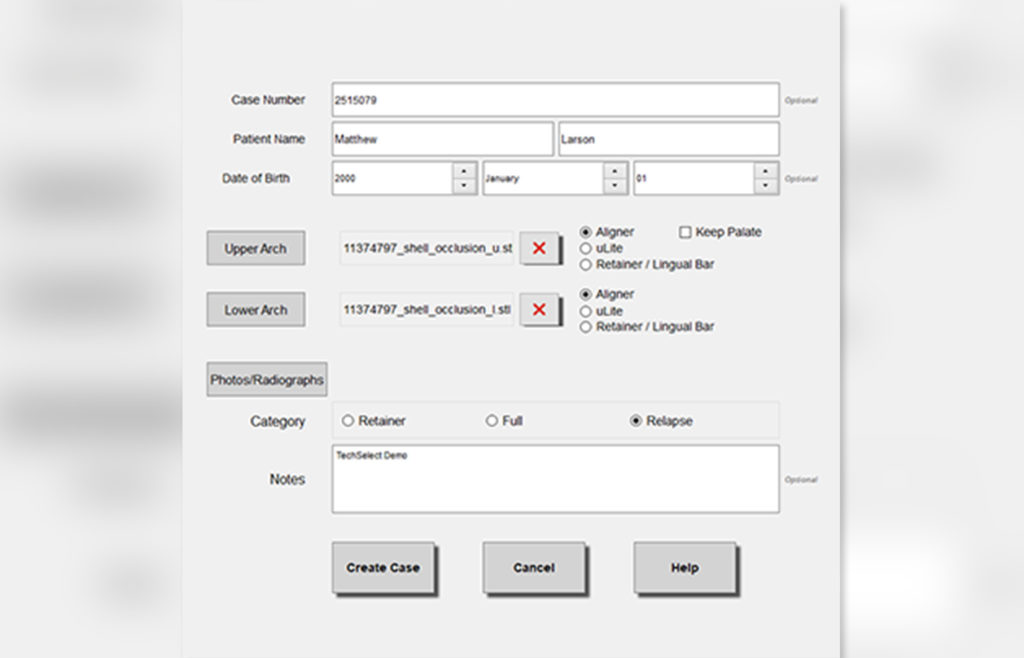
In order to do a digital set-up, you must first “prepare” an STL file for each arch. This may be done in a common 3D editing software or it may be part of your Digital Set-Up software.
Open the files made with your scanner in the chosen program. Preparing includes trimming away unneeded portions, creating a base, removing any holes to “close the model,” and smoothing or removing any artifacts. It may even mean virtually removing brackets or other attachments from teeth.
Identify the model so it is oriented properly (front, sides, top, bottom), and then save to individual STL files – one for the maxilla and one for the mandible.
Step 2: Open the models in your digital set-up software (if they weren’t prepared there)
Be sure the software recognizes the orientation of the models. If not, orient appropriately.
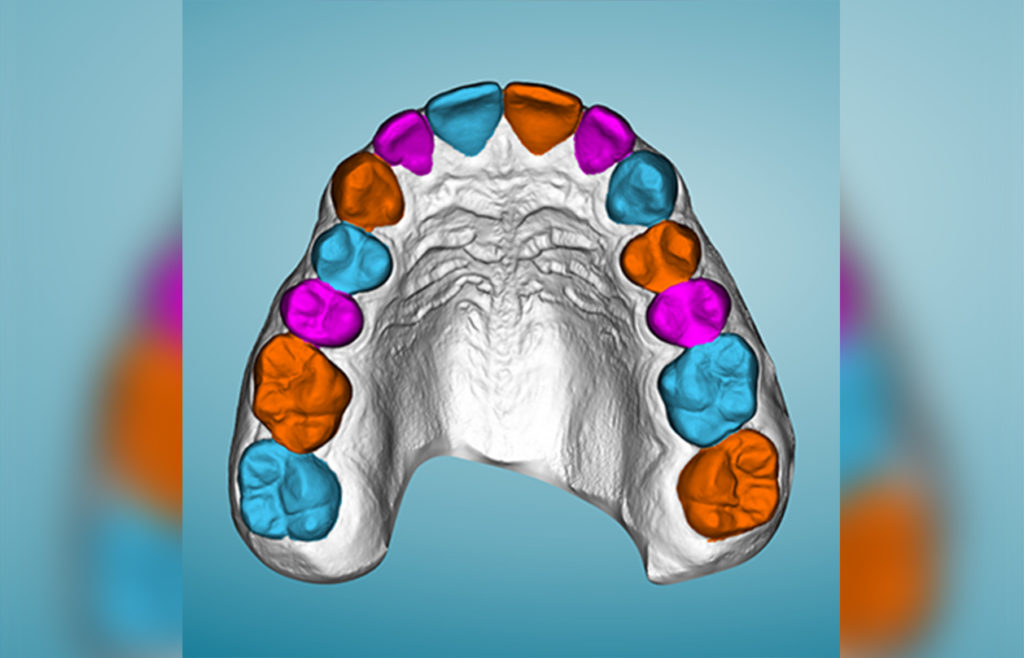
Step 3: Segment teeth
Identify visible boundaries of each tooth from each other and from the gingiva. Also identify the contact points and long axis of each tooth, and smooth interproximal surfaces. In many programs, this is at least partially automated.
Step 4: Establish the arch form for each arch
This is more necessary for complex cases. It can be skipped for minor alignment cases.
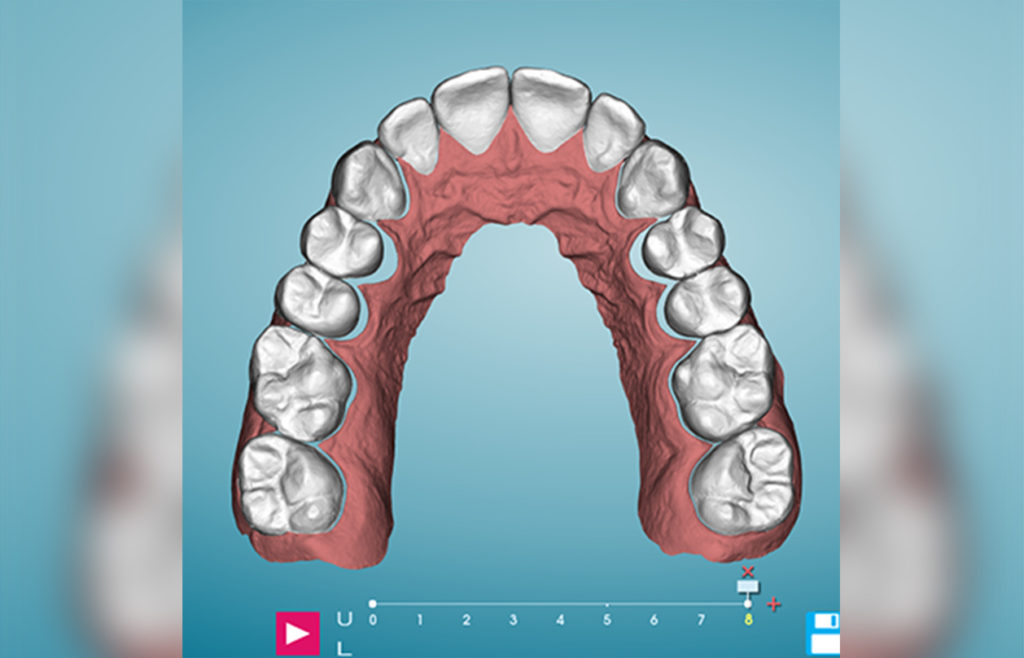
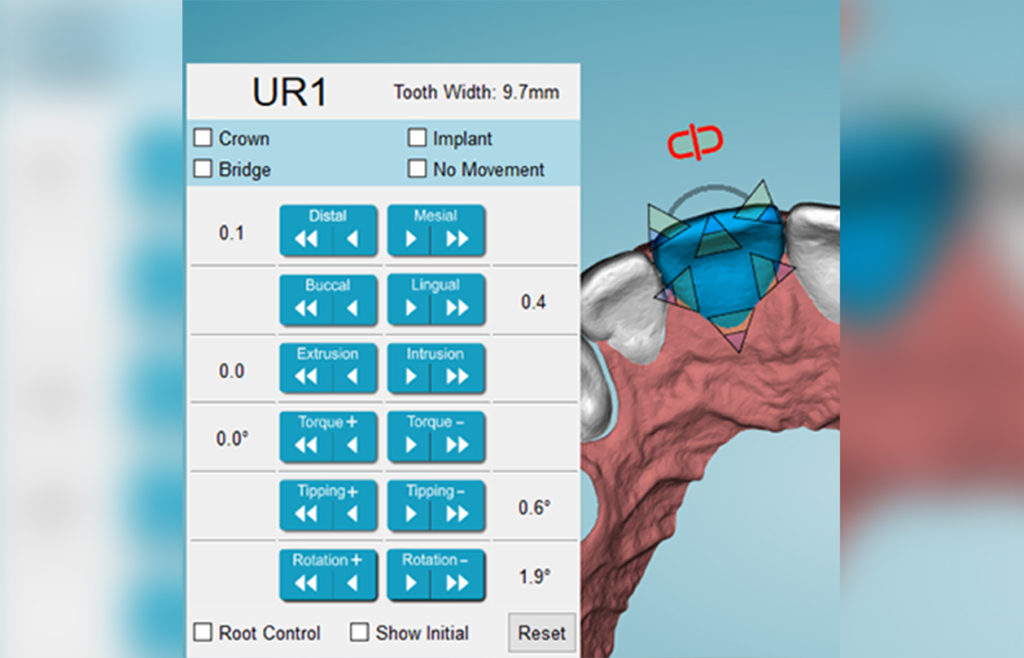
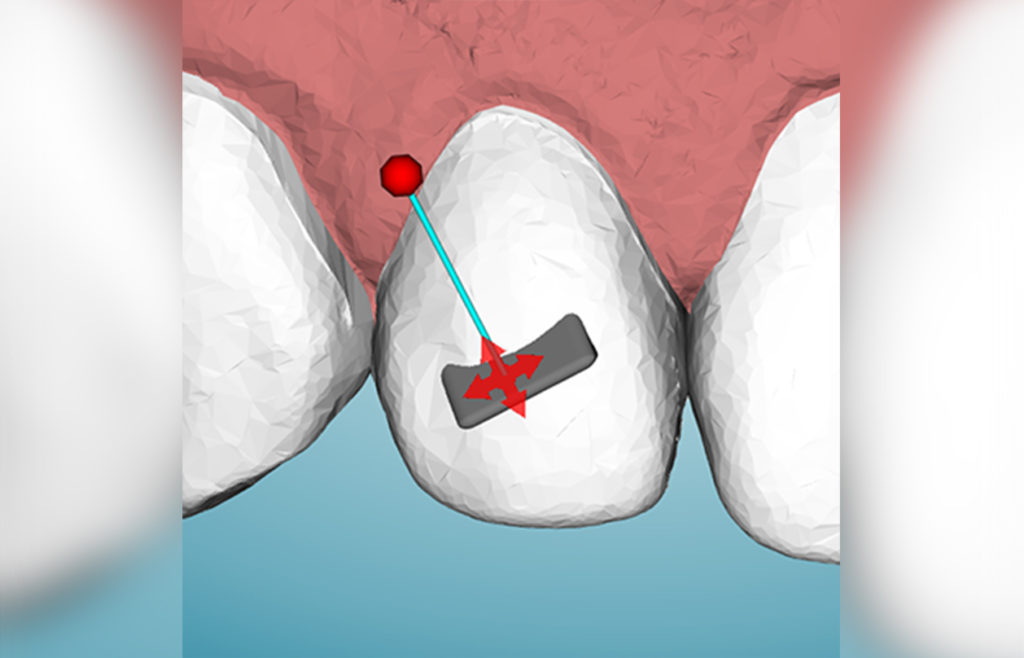
Step 5: Move teeth
Using software tools, move the teeth as needed. This includes rotating, tipping, torqueing and bodily movement. This is all accomplished with mouse movements and notated by fractions of a millimeter or degrees. This is easiest to visualize if you are able to make the gingival tissue transparent.
Step 6: Place attachments where needed
Place attachments on selected teeth to provide retention for your aligners and make challenging movements more predictable and efficient. Change the shape, size, location and orientation of attachments as needed.
In some programs, this is automated, but you can still verify and edit attachments made by the software.
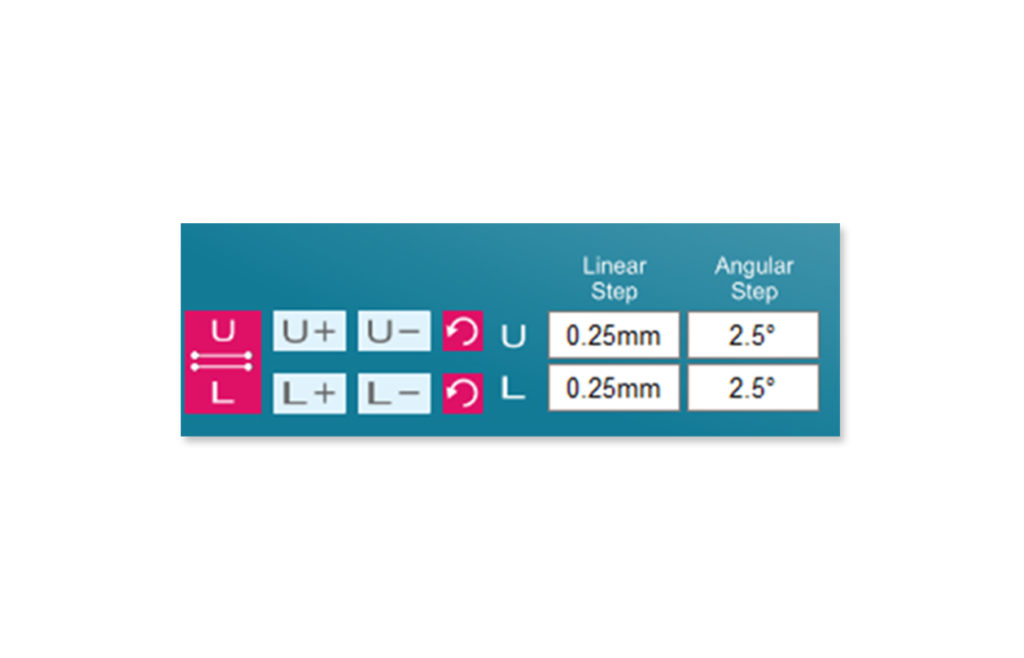
Step 7: Stage your aligners
Tell the software how many stages you would like…or let the program calculate it for you based on movement limits you allow (ex. translations of 2mm or rotations of 2 degrees).
Edit the staging as needed (ex. concentrate expansion early in the case). Designate stages at which you need to perform any necessary IPR.
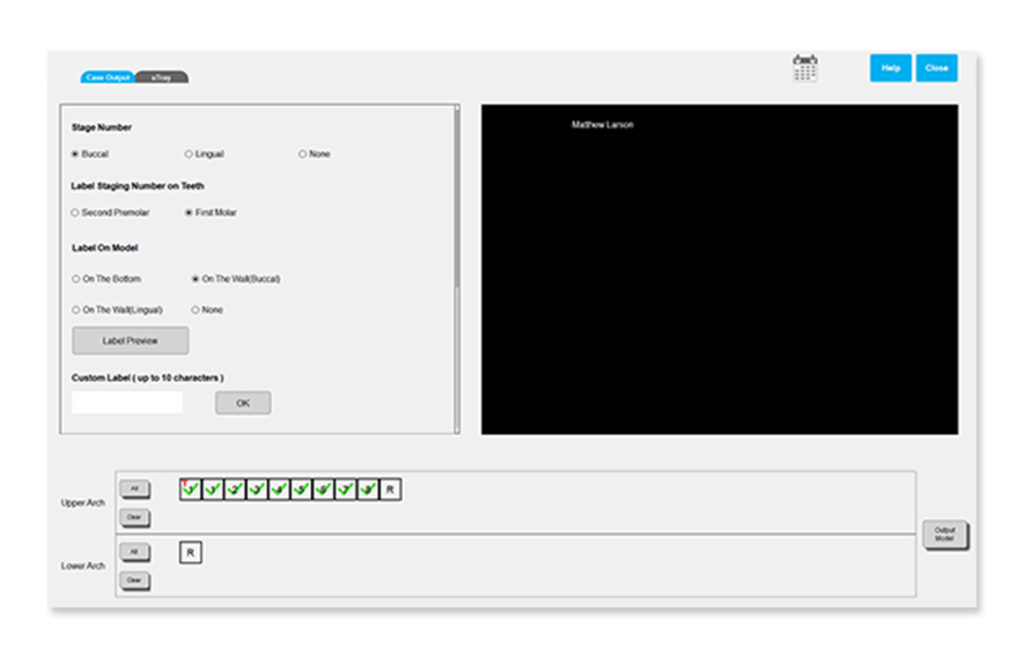
Step 8: Export to STL Files
Export a model for each stage of movement in each arch. Export models for making attachment templates and retainers, if needed.
Be sure to also export/save reports of movements and IPR. Store in a folder with unique patient identifier for access by available 3D printer program.

Keep the AAO TechSelect How to Perform Digital Set-Ups Guide with you.
Digital Set-Ups Guide
How to Perform Digital Set-Ups Guide
Digital Set-Ups Videos
Using Archform Software: Part 1: Prepare the Model and Segment Teeth Video
Using Archform Software: Part 2: Move Teeth, Place Attachments and Stage Aligners Video
Using Archform Software: Part 3: Export to STL File Video
Using EasyRx to Prepare Your Model Video
Using uLab Software: Part 1: Prepare the Model and Segment Teeth Video
Using uLab Software: Part 2: Move Teeth, Place Attachments and Stage Aligners Video
Learn more about the entire process.