How to Fabricate
In-House Aligners
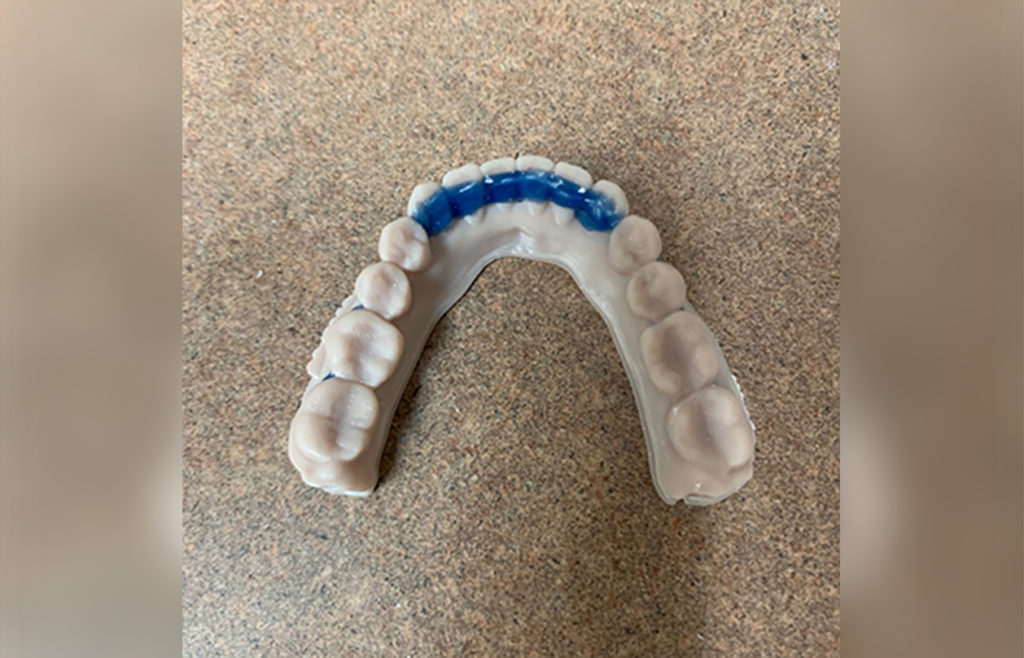
Step 1: Block out necessary undercuts
Use block out material to cover edentulous spans and undercuts to prevent aligner material from tightly forming to these areas. Failure to block out could result in difficulty inserting/removing retainer.
Note that tooth movement software may have options to do this virtually, but still double check each model.
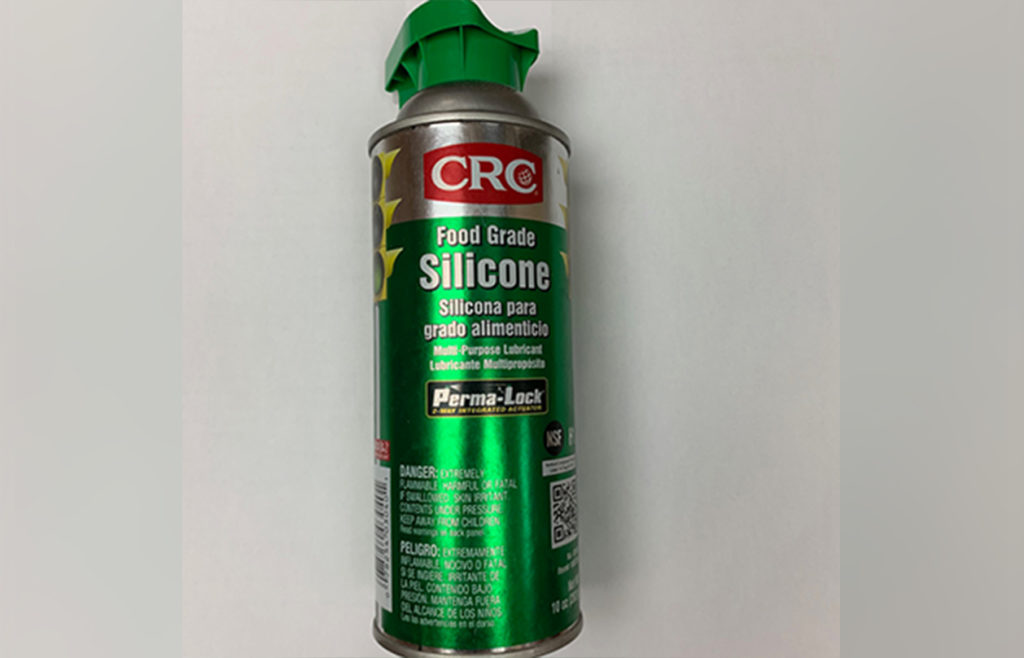
Step 2: Spray model with silicone release spray
This allows for easier removal of retainer from model.
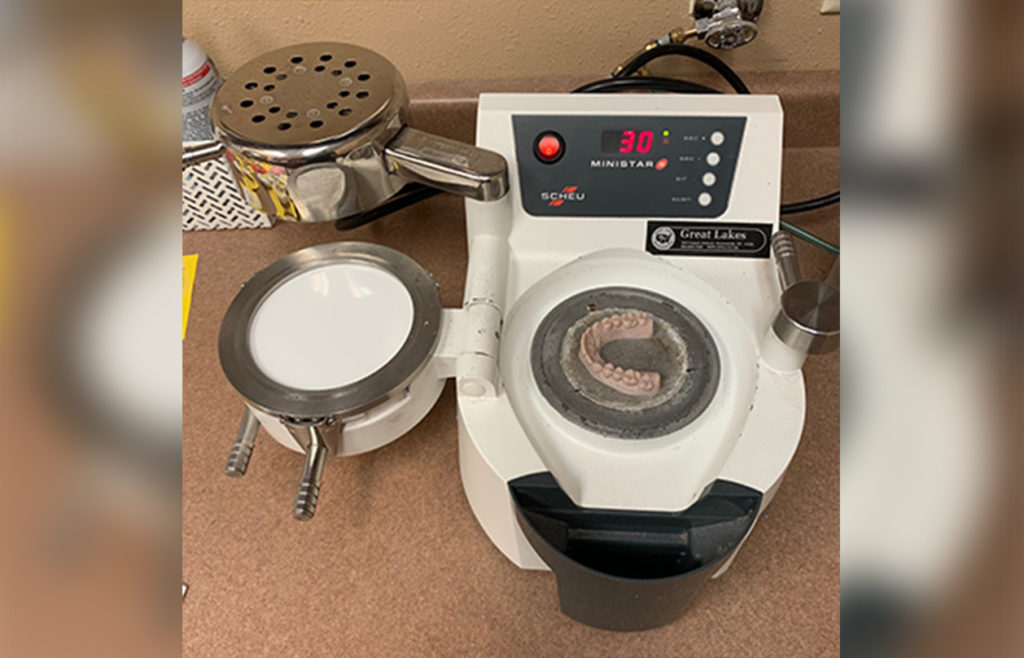
Step 3: Use pressure forming machine to form aligner
Use recommended PSI on pressure forming machine and appropriate heating code/time for selected plastic. Plastic packaging will designate the heating time.
Note that material selection at this stage will affect the stiffness and force levels of the retainer. Different materials can be used at different stages.
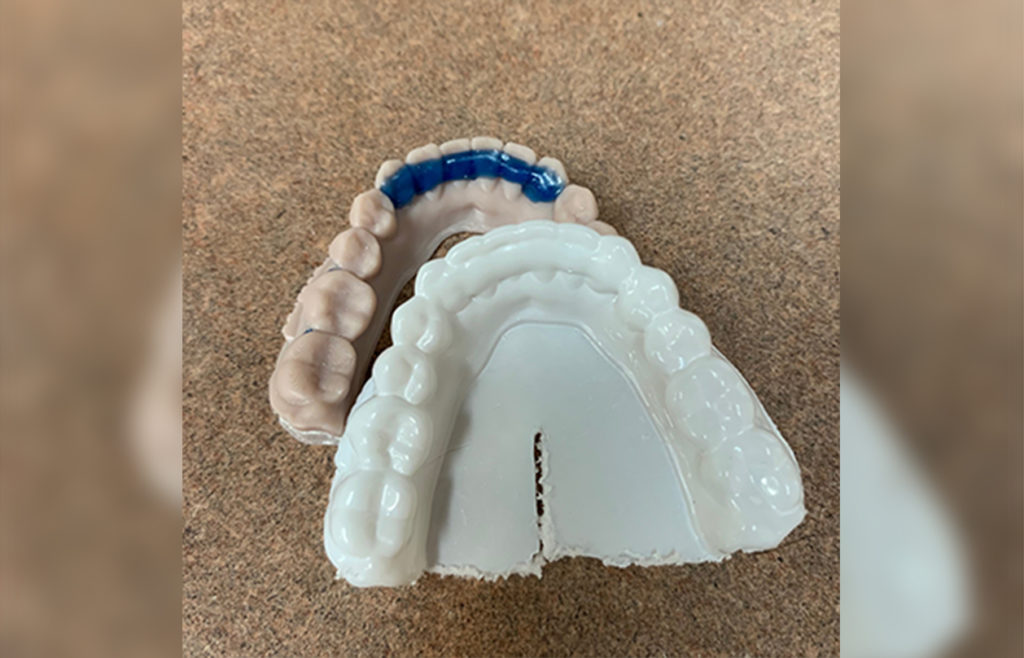
Step 4: Separate aligner from model
This is more necessary for complex cases. Be careful not to distort aligner or break model when separating. Typically, a rough initial trim of the aligner with a lab handpiece or large scissor is needed before removing the aligner from the model.
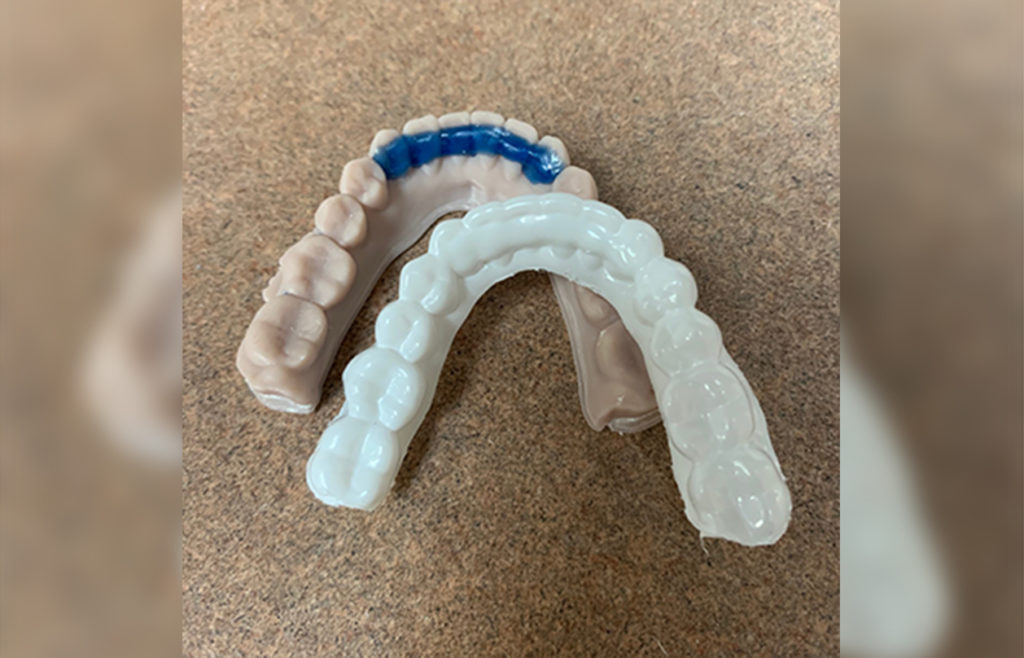
Step 5: Cut out aligner
Use plate shears for bulk cutting and curved, fine tipped scissors for more precise cutting. An accurate and smooth trim will dramatically reduce the time for finishing.
The trim level will significantly affect the retentiveness of the retainer. A straight cut 2mm above the gingival zenith will be around twice as retentive as a scalloped cut without attachments – that jumps to 4 times as retentive with attachments.
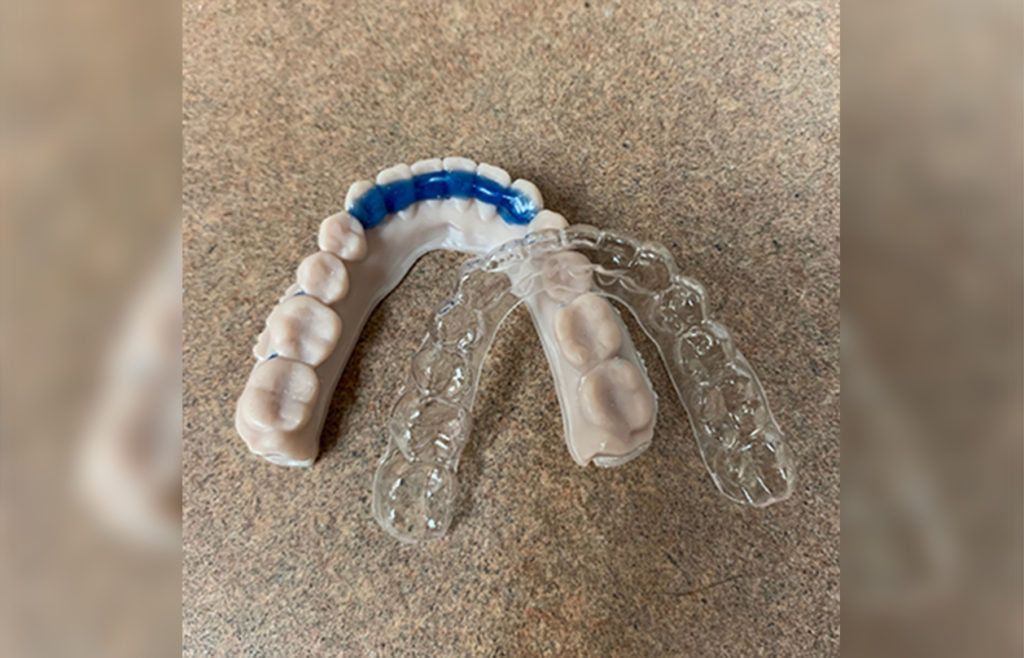
Step 6: Buff aligner for a smooth finish
Use rotary buffing wheel on the edges to create a smooth finish. This will make aligner more comfortable to wear.
Step 7: Sterilize aligners
Consider UV light sterilization to ensure retainers are sterile. There are other sterilization options besides UV light.
Do not use heat. Heat sterilization will deform the aligner so it can’t be used. Viable alternate options include cold sterilization or a high-level disinfectant spray.
Additional Notes:
Some aligner materials will have a protective sheet on each side of the material. For some materials, this needs to be removed prior to thermoforming, while others are meant to be removed after polishing. Please review the directions for your aligner material of choice.

Keep the AAO TechSelect How to Fabricate In-House Aligners Guide with you.
Learn more about the entire process.