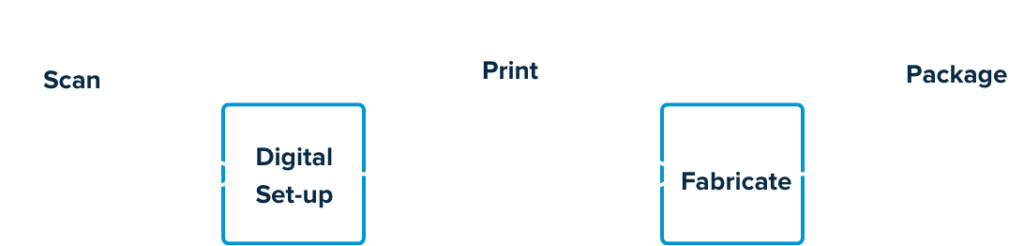
How to Scan
Step 0: Track your scan
Before you start scanning, it is highly recommended to record the scan into your office tracking system. Make sure the patient information is correctly entered in the scanner and the correct scan type is set (for scanners with different scan options or integrations with 3rd party labs). Since the scan is just a digital file, it can be easily forgotten if not tracked!
Step 1: Prepare the teeth
Scanning clean and dry teeth will produce the most accurate final scan most efficiently.

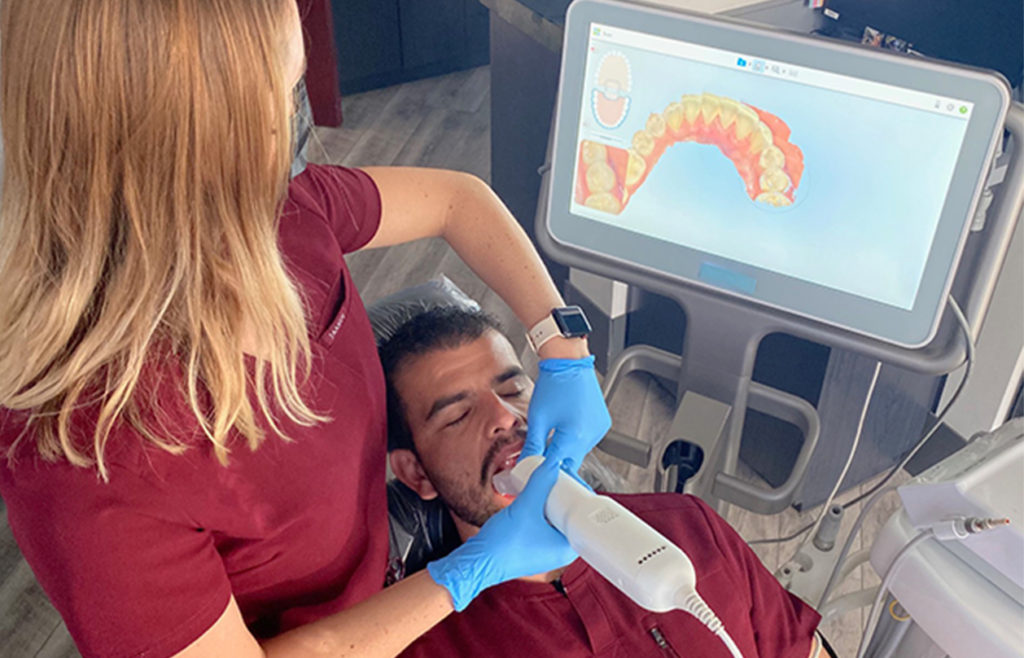
Step 2: Scan the lower arch
Most companies have a recommended scanning order to best have their software stitch together a digital scan – typically this involves an initial scan of the entire occlusal surface, then filling in the facial and lingual surfaces. A good scan will include the entire dentition with 2+ mm of gingiva around all teeth.
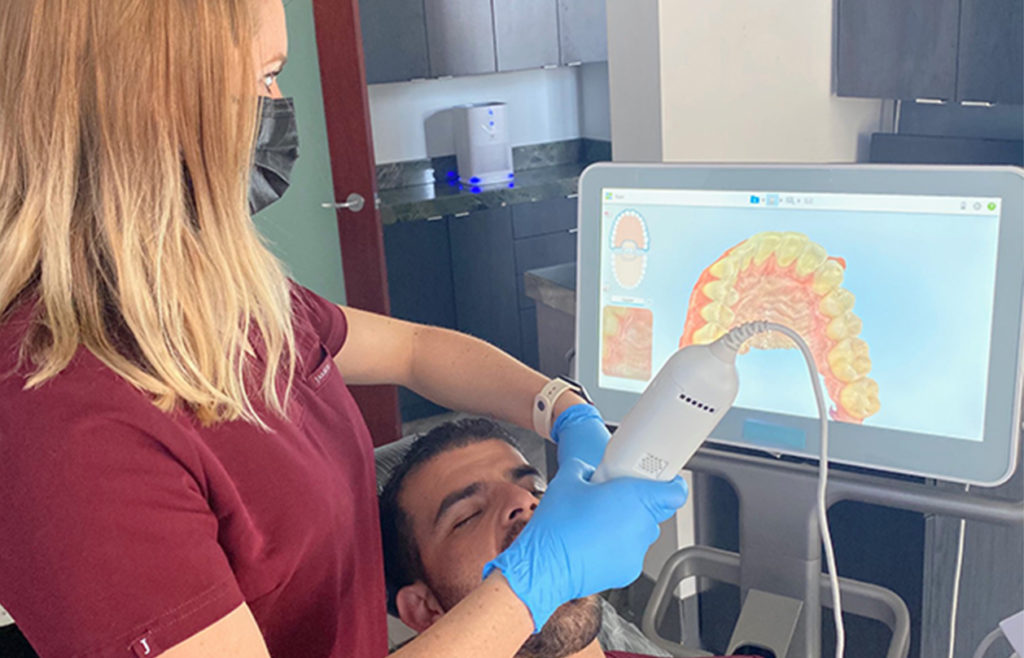
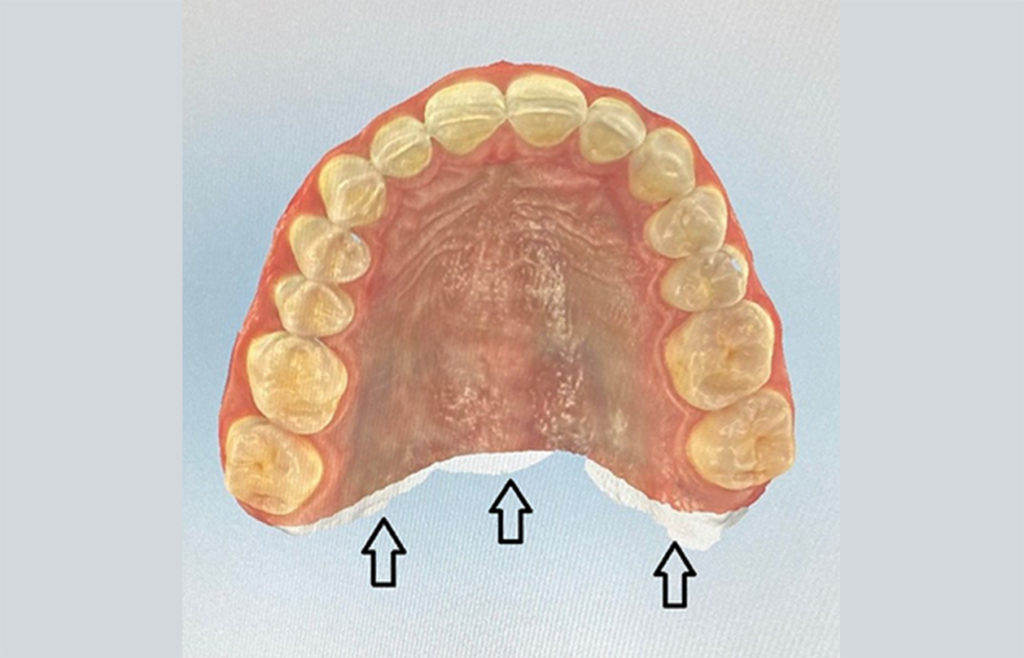
Step 3: Scan the upper arch
This should work the same as the lower arch, but the palate should be scanned for any appliance resting on it. Many offices will universally scan the palate to avoid it being accidentally missed in cases where it is needed.
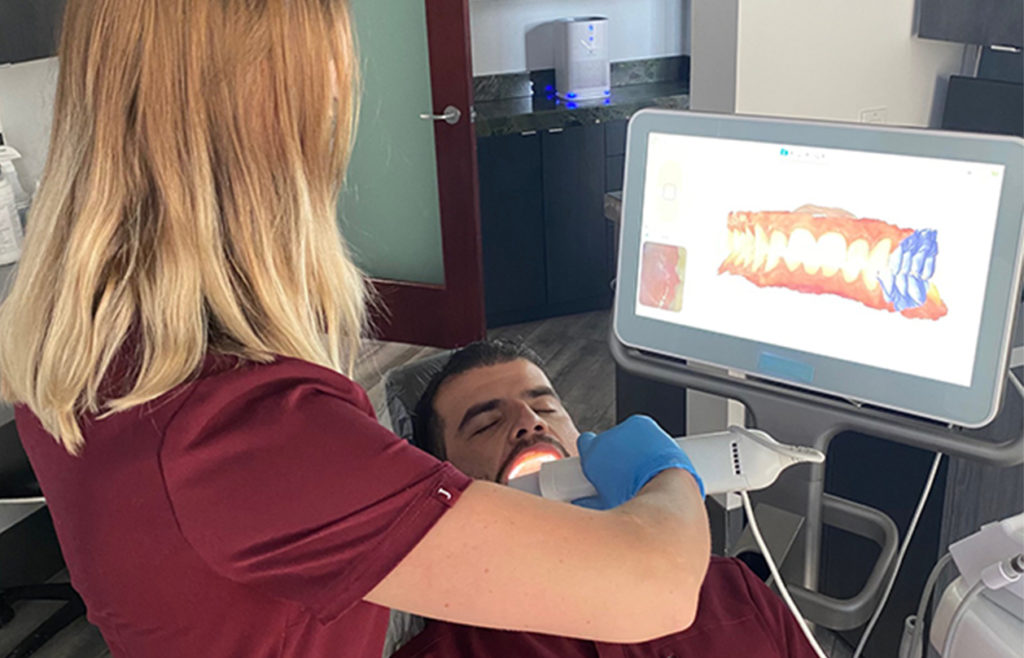
Step 4: Scan the bite
Most scanners will have you take a short scan of the right and left occlusion to set the bite. Some scanners allow multiple bites to be set if a second bite is needed (for example, a protrusive bite for a Class II appliance.)
Step 5: Edit the scan
Double check all teeth are accurately captured. Remove any artifacts that are not needed (although artifacts can also be removed in digital editing software, it tends to be most efficient directly on the scanner.)
Step 6: Submit the scan
The scanner will do a final edit of the scan and submit it as needed – the file can be found in a local file system, in the cloud, or be sent directly to the lab depending on your scanner and the settings selected.
Learn more about the entire process.