How to Print & Post-Process DIB Trays
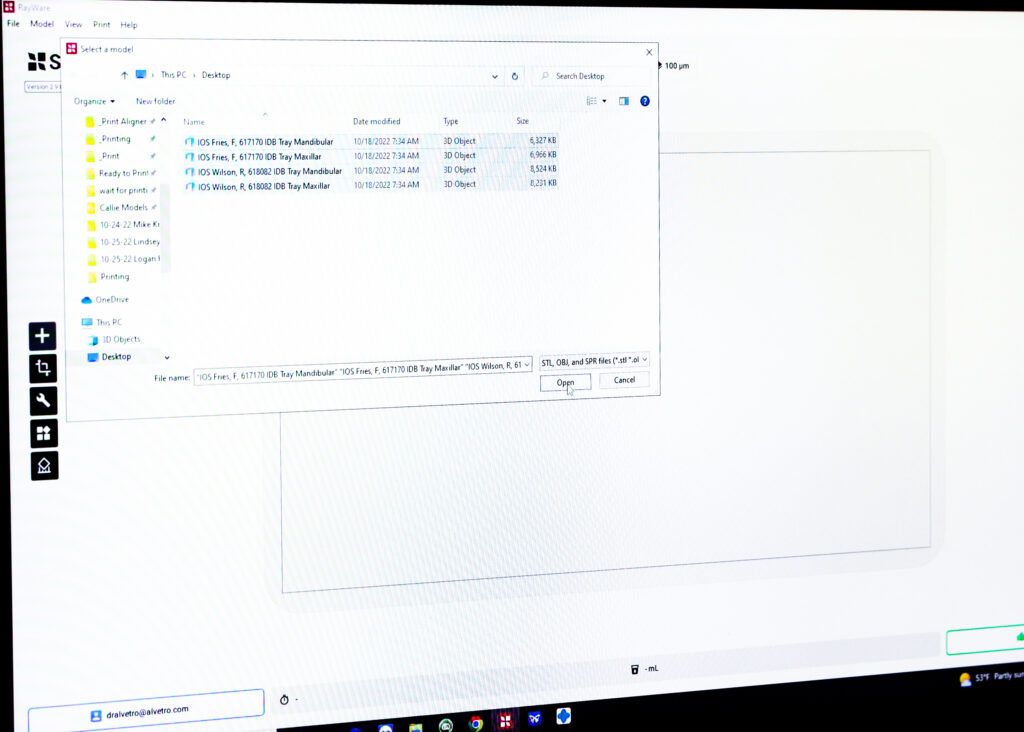
Step 1: Import the trays
Once you have approved your set-up, import the tray .STL files into the software associated with your 3D printer.
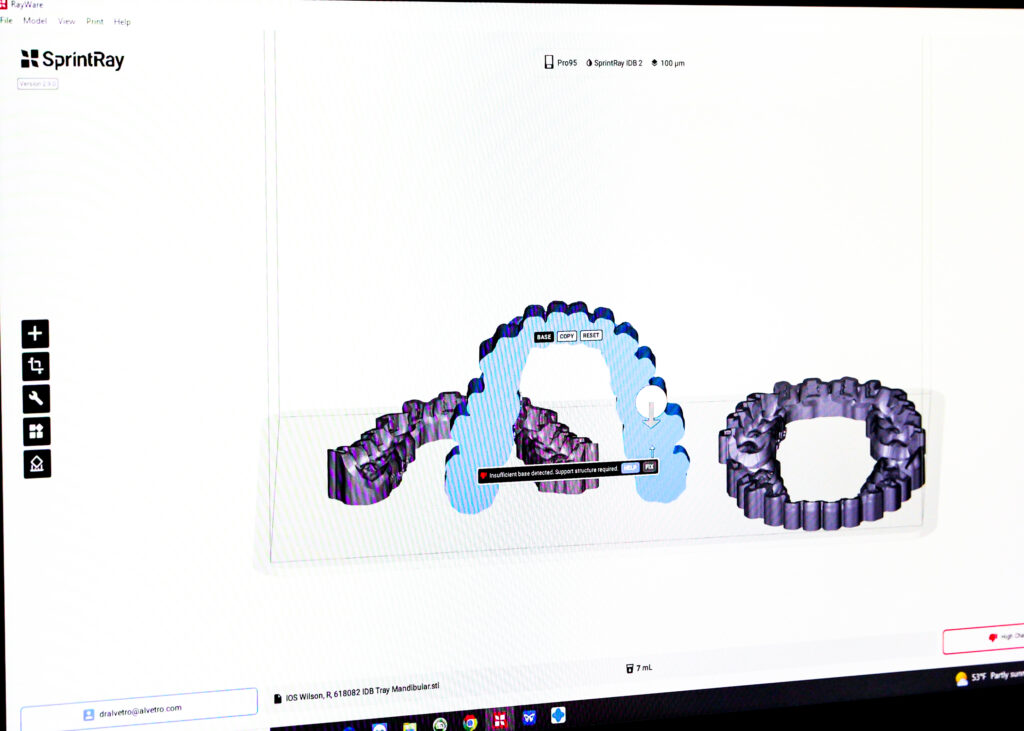
Select the base of the tray and set it flat to your build platform to ensure the entire base of the tray is flat to the platform. Rotate the platform and confirm that the base of the tray is visible in its entirety.
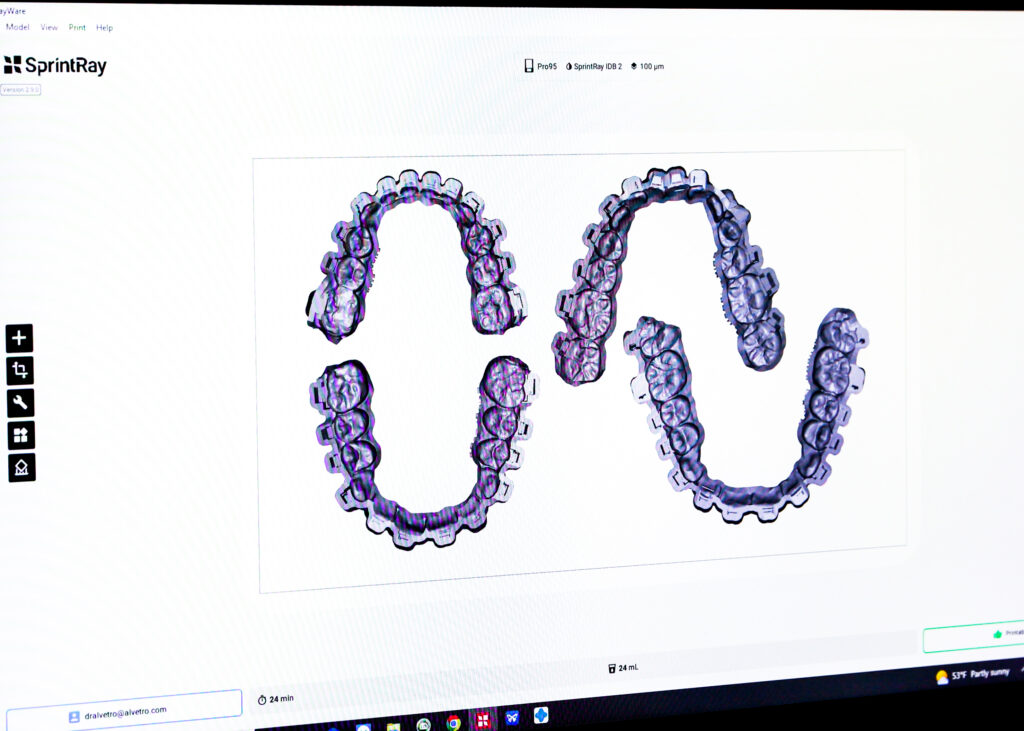
Step 2: Orient the trays.
Orient the tray on the build platform. If you are printing more than one tray at a time, ensure that the trays are not overlapping.
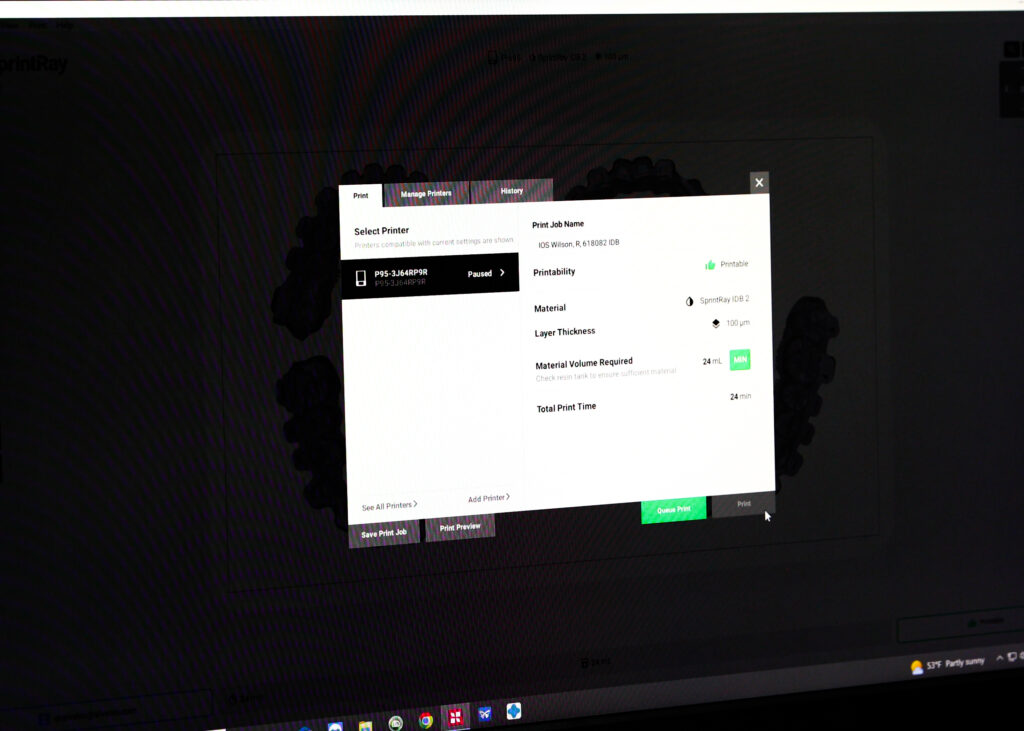
Step 3: Print the trays.
In the printer settings, select the material resin and layer thickness you would like to use for the print job. Click on the print icon to send the trays to be printed. If the printer is set up via an ethernet cord or wirelessly the print will be sent automatically. If not, save your model file to a USB for printing and directly place the USB in your 3D printer to start your print job.
Step 4: Remove the build platform from the 3D printer.
Once the print job is complete, remove the build platform from the 3D printer. It is important to remove any excess resin from the trays and build platform to save additional resin.
Step 5: Remove the trays from the build platform.
Using a putty knife, gently remove the trays from the build platform. If needed, gently tap with a hammer to release them from the build platform. Ensure that the build platform and resin tank are ready for the next print job by confirming that they are clean and free of residue and debris.
Step 6: Place the model in Isopropyl Alcohol (IPA).
Place the model in a 99% IPA bath to remove any uncured resin from the model. Because the resin used for trays is different than models, use a bath designated for trays.
Step 7: Agitate the model in IPA.
Commercially available wash and cure units are offered to agitate the 3D printed trays to remove uncured resin. Please follow the manufacturer’s recommendations for proper washing and cure times.
Step 8: Dry the trays.
Using an air compressor, remove any remaining IPA from the model.
Step 9: Cure the trays.
Cure the trays using the recommended settings provided from the 3D printer resin company.
Once the tray is cured, it is ready for bracket loading.

Keep the AAO TechSelect How to Print & Post-Process DIB Trays Guide with you.
Digital Indirect Bonding Tray Guides
Digital Indirect Bonding Tray Basics Page
How to Print & Post-Process Trays Page
How to Print & Post Process Trays PDF Guide
How to Load Brackets into DIB Trays Page
How to Load Brackets into DIB Trays PDF Guide
Clinical Considerations for Successful Bonding PDF Guide