How To Prepare Your Retainer Model Using Easy Rx
Step 1:
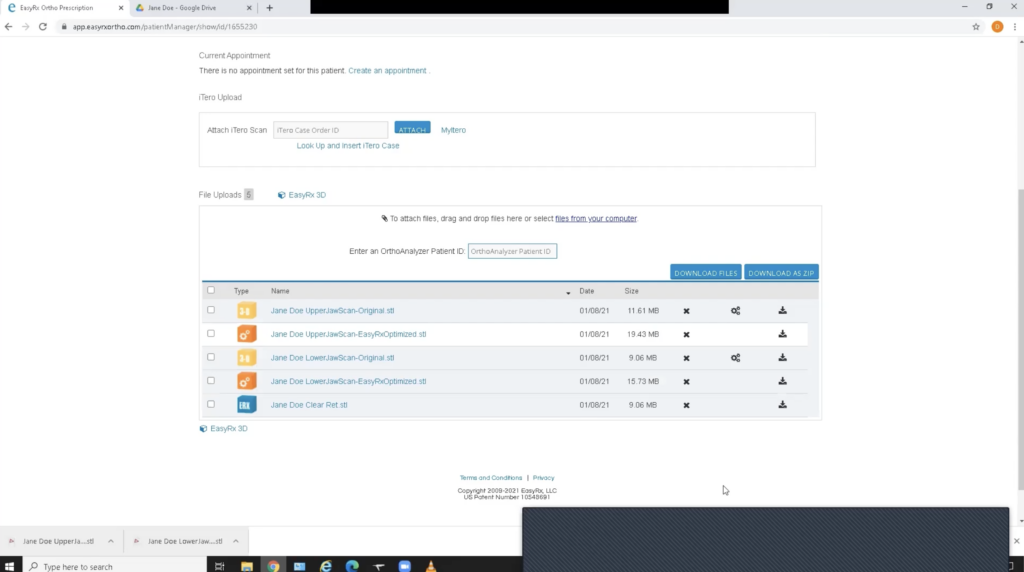
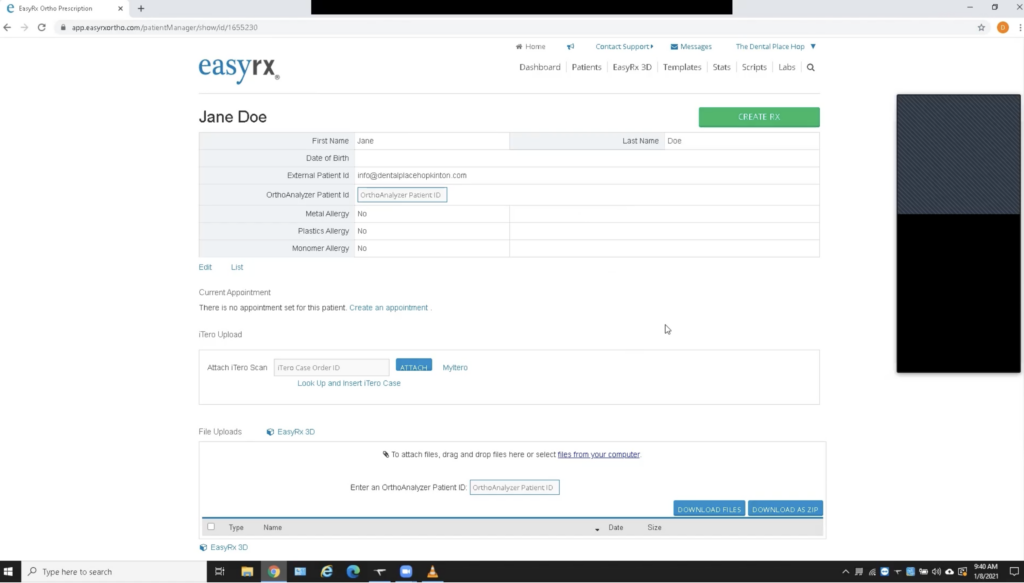
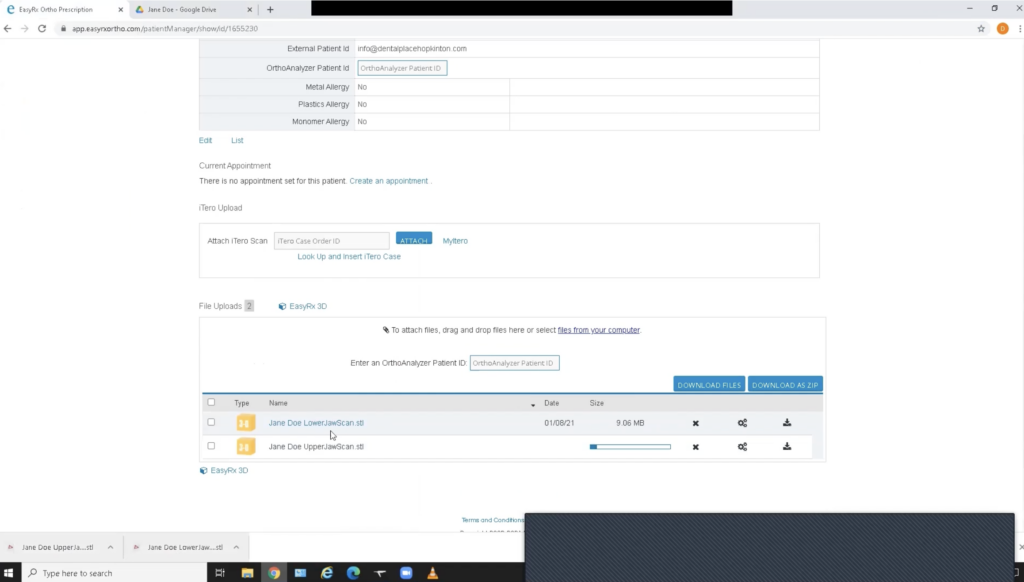
Enter your patient’s information into Easy Rx and upload the STL files for both arches.
Step 2:
Download lower jaw and upper jaw and click and drag into the software. You do not need to download the bite.
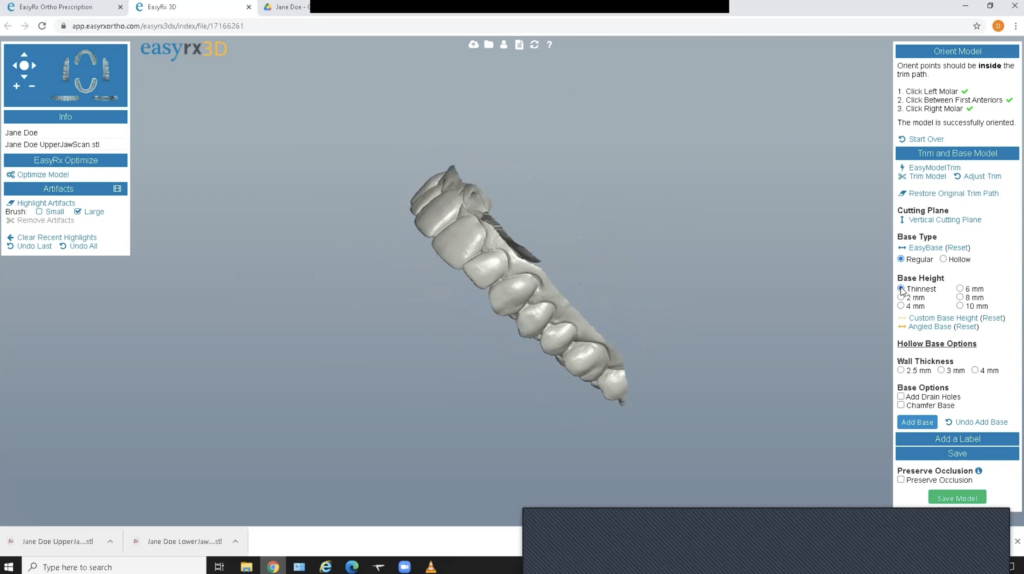
Step 3:
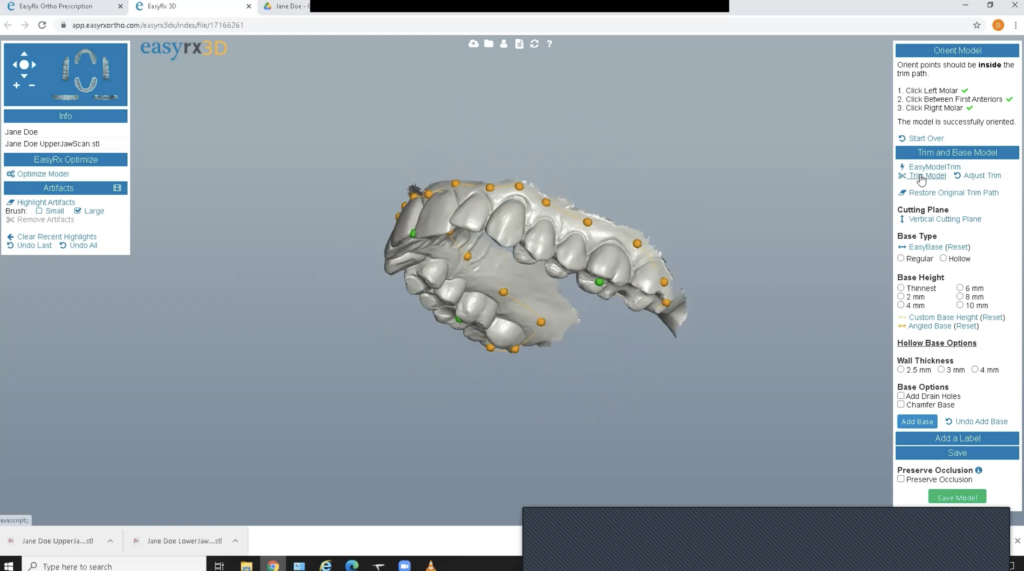
To print properly, each model will need to be based because it comes in as a hollow shell. Orient the model and first ignore the orange dots and lines. Click on upper left 6 (or 7), then click between the centrals, and then click on the opposing molar.

Step 4:
To trim the model, use the software’s trim function to remove the jagged edges. Place orange dots at the gingival line. When the line is complete, the orange dots will turn green. The goal is a nice connected, smooth surface. If you receive an error, adjust the dot placements.
Step 5:
- Add the base as thin as possible to save resin.
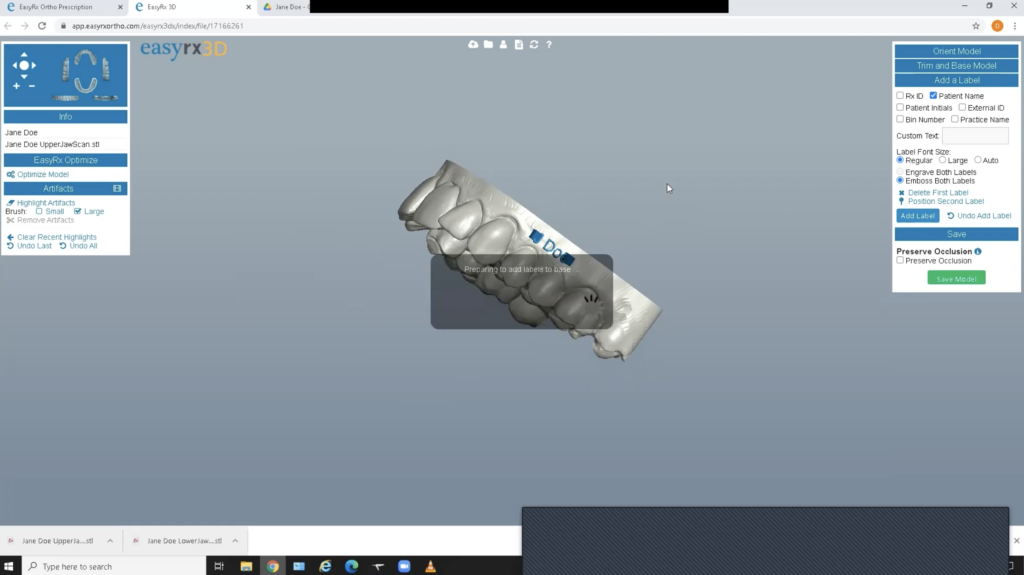
Step 6:
Near the trim line, label with patient name and type (retainer or aligner with number).
TIP: Use “Emboss” as it typically shows up better.
Step 7:
Save file and it will be saved to the Rx page where you can select it to print when you are ready.