DIB Step-By-Step
Get to know the digital indirect bonding process.
While the benefits of Digital Indirect Bonding are universal, a practice’s Digital Indirect Bonding workflow is largely dependent on the bracket system selected. AAO TechSelect is here to help you learn more about the decisions to make and the process, so you can envision how it can work within your practice.
1. Select Bracket System
1. Select Bracket System
You can use your standard bracket or custom bracket systems in your DIB workflow. Your bracket choice will impact your downstream decisions such as DIB trays.
If you choose to use your standard bracket, you have the flexibility to either outsource your DIB tray production or print in-house.
If you choose a custom bracket system, your DIB trays will be produced and delivered loaded to you.
Related Resources:
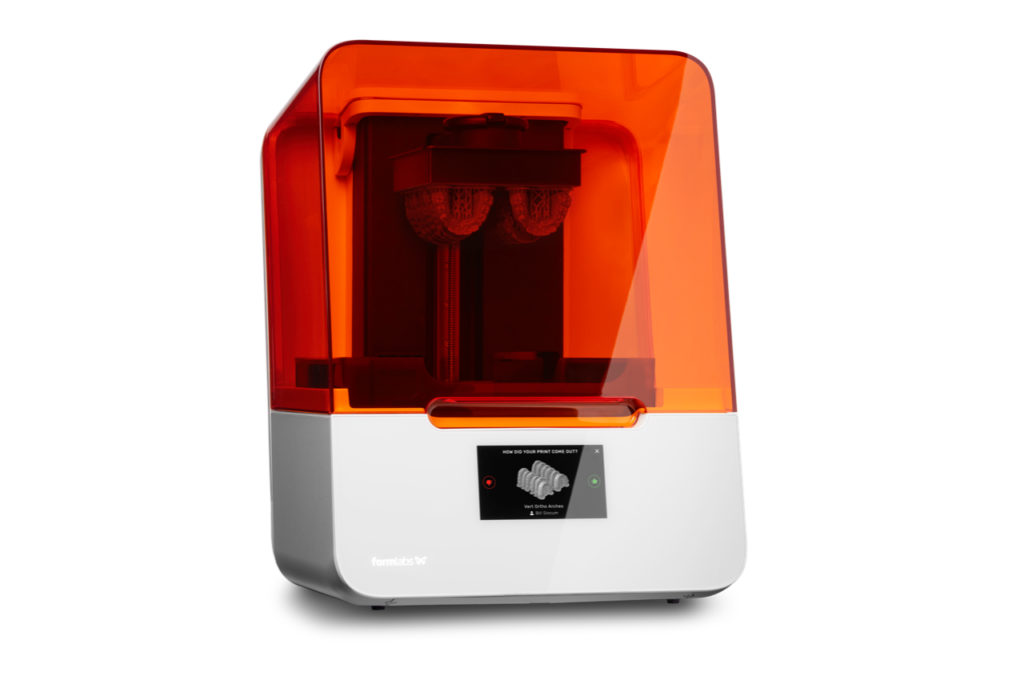
What you’ll need:
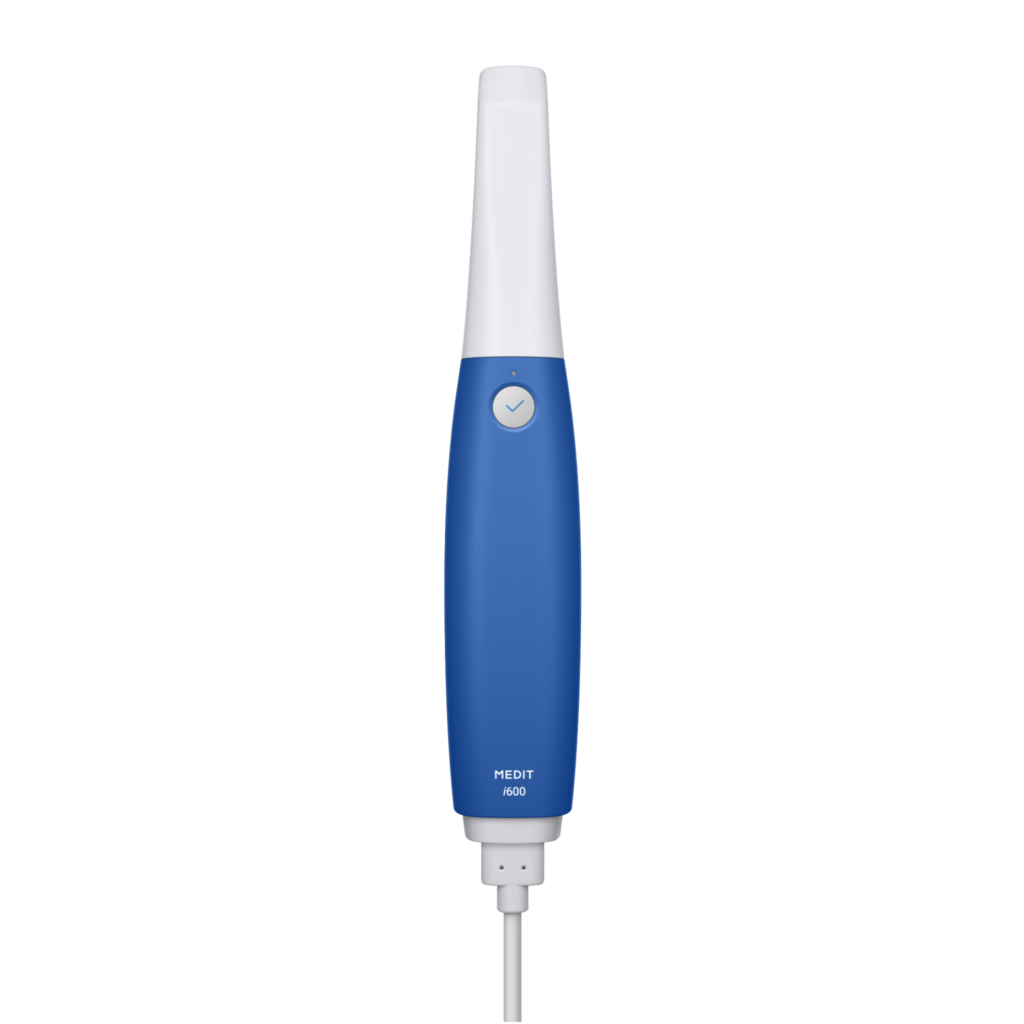
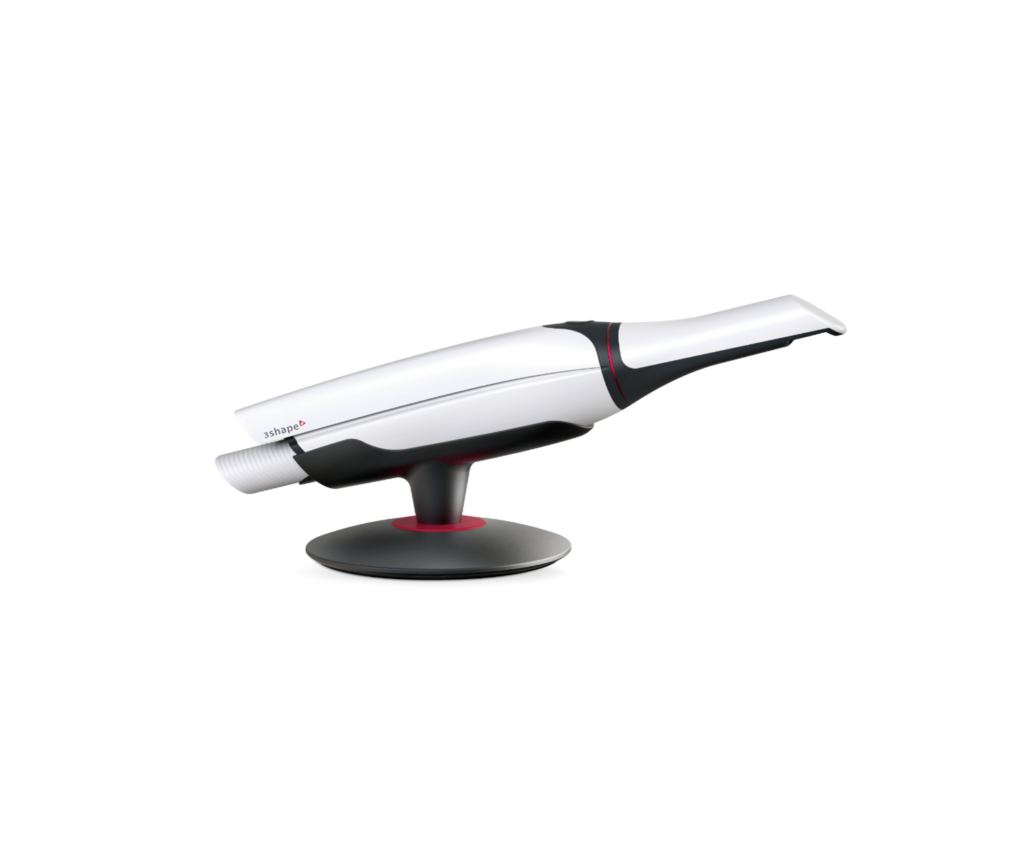
2. Scan
2. Scan
An intraoral scanner essentially replaces the need for oral impressions. The device scans a patient’s full dental arches with an occlusal registration.
Since there are no physical impressions, it’s important to have the right resources in place to properly store, edit and transfer digital files. Our partners can simplify the process.
What you’ll need:
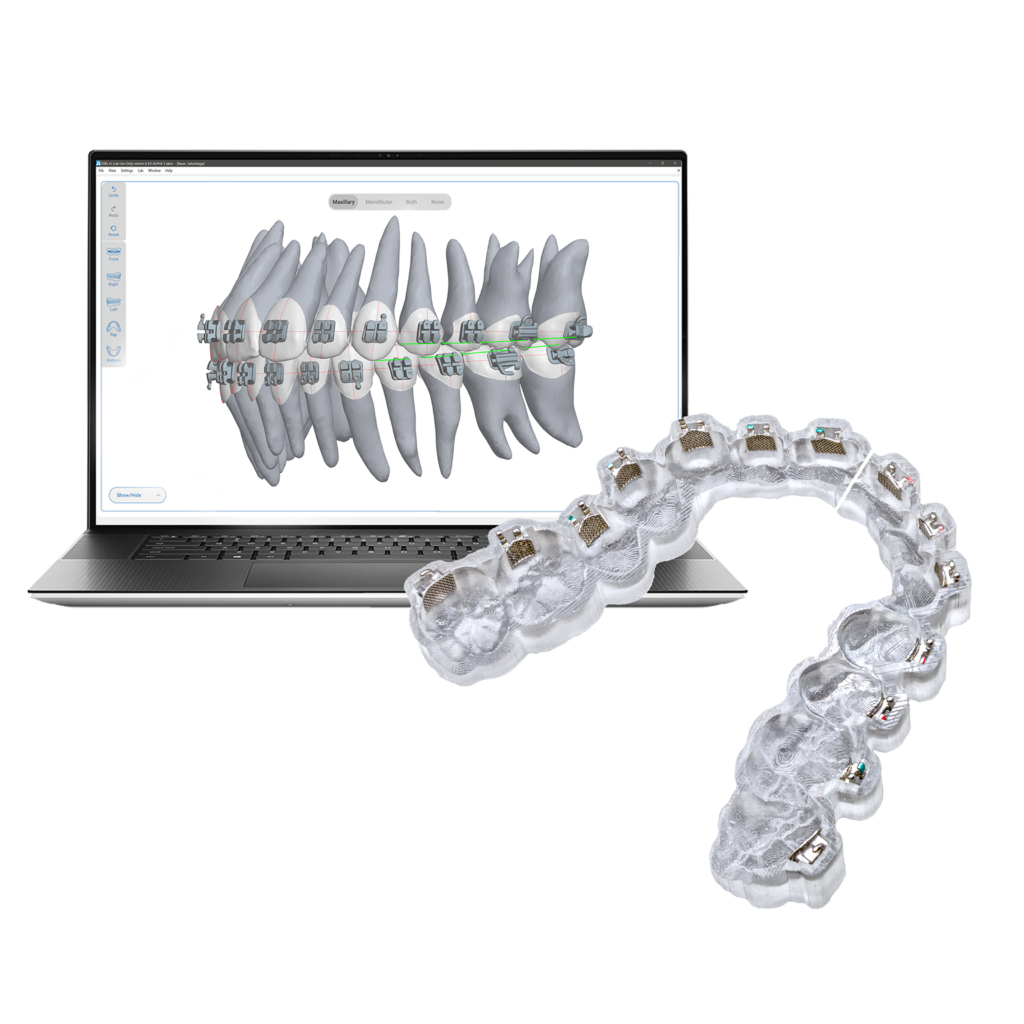
3. Digital Set-Up
3. Digital Set-Up
This is dependent on your bracket choice.
If you choose to use your standard bracket, you will submit your Rx to a digital bracket placement software company such as TechSelect partner, DIBS AI.
If you choose a custom bracket system, you will submit your Rx to them.
In either case, the company you submit your Rx to will do the digital set-up and provide to you to adjust and approve.
Related Resources:
What you’ll need:
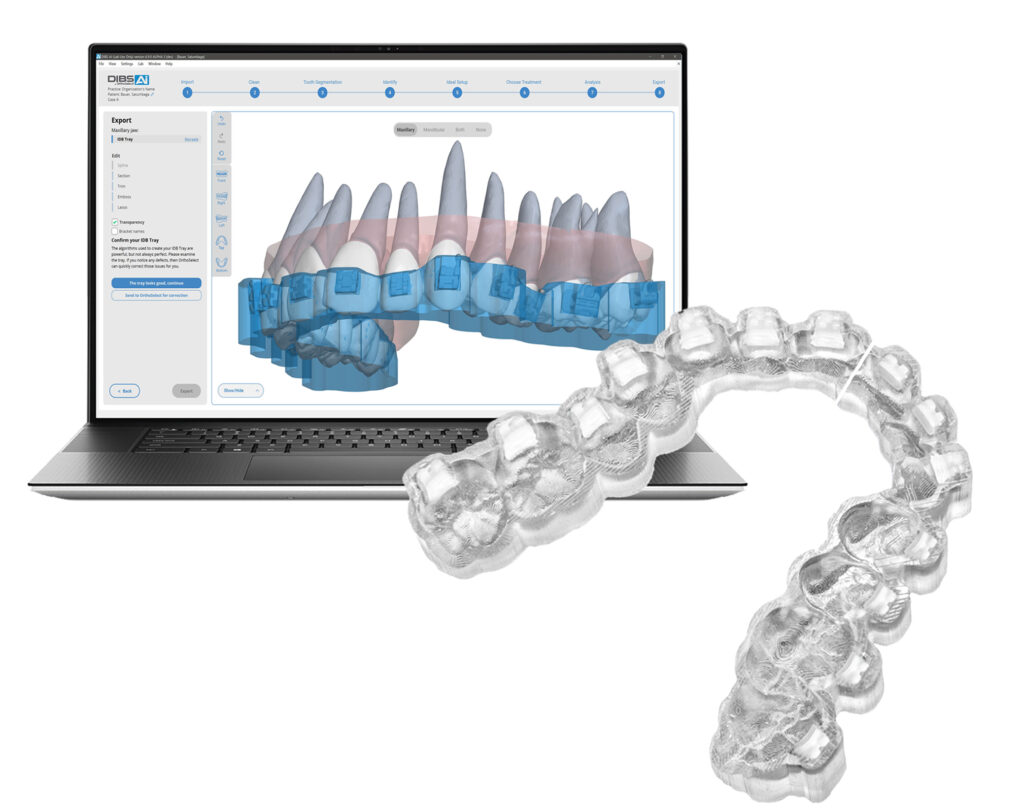
4. DIB Trays
4. DIB Trays
This is dependent on your bracket choice.
If you choose your standard bracket, you may choose to 3D print your trays in-house or your bracket placement software company can print them for you. If you print your own trays, you will need to load the brackets. If you outsource your trays you may choose to have your brackets loaded.
If you choose a custom bracket system, your DIB trays will be delivered to you with brackets loaded.
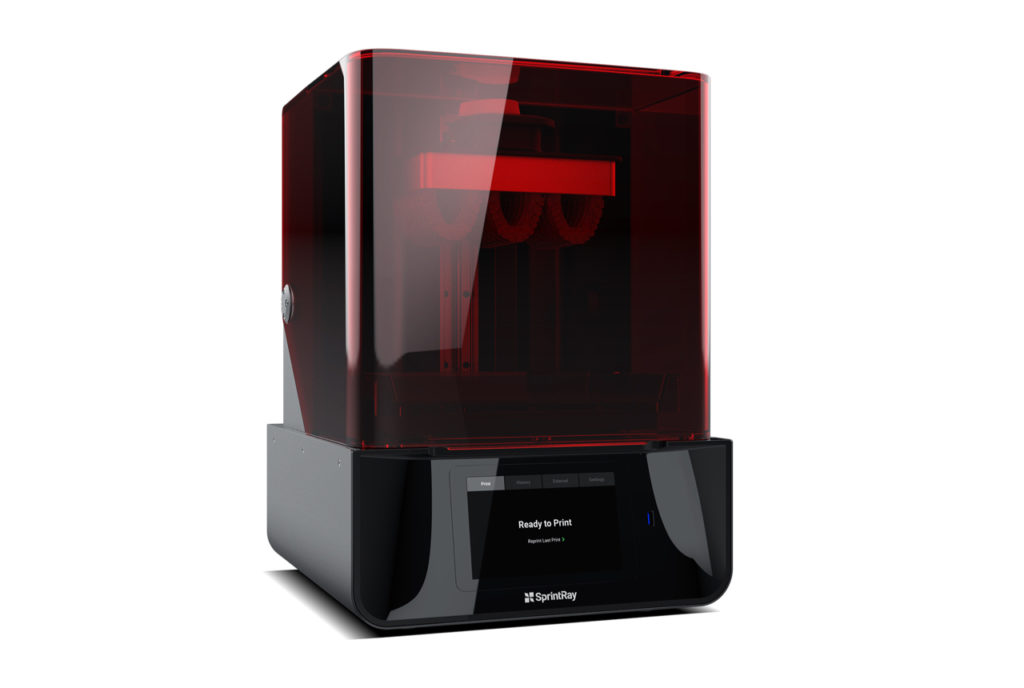
What you’ll need:
5. Apply Bonding Adhesive
5. Apply Bonding Adhesive
For all bracket choices except the 3M Flash Free, you will apply bonding adhesive just prior to bonding your patient. Once adhesive is applied, place the DIB trays within a light safe box to prevent the adhesive from activating.
Related Resources:
What you’ll need: Your standard bonding adhesive
6. Bond Patient
6. Bond Patient
Now it’s time to bond your patient. Once you are proficient, you should be able to reduce the time needed for your bonding appointments by 50%. The preparation is the same as you would for typical bonding. You will first insert proper isolation. You’ll then prepare the surface by etching, rinse and dry and prime. Place the DIB trays for one section/arch, cure each bracket with an initial turbo cure and tach cure. Remove trays by rolling from lingual to buckle. Repeat steps on remaining sections/arch. Perform final quick cure from incisal edge.
Related Resources:
See articles, videos, and guides to learn more about Digital Indirect Bonding.